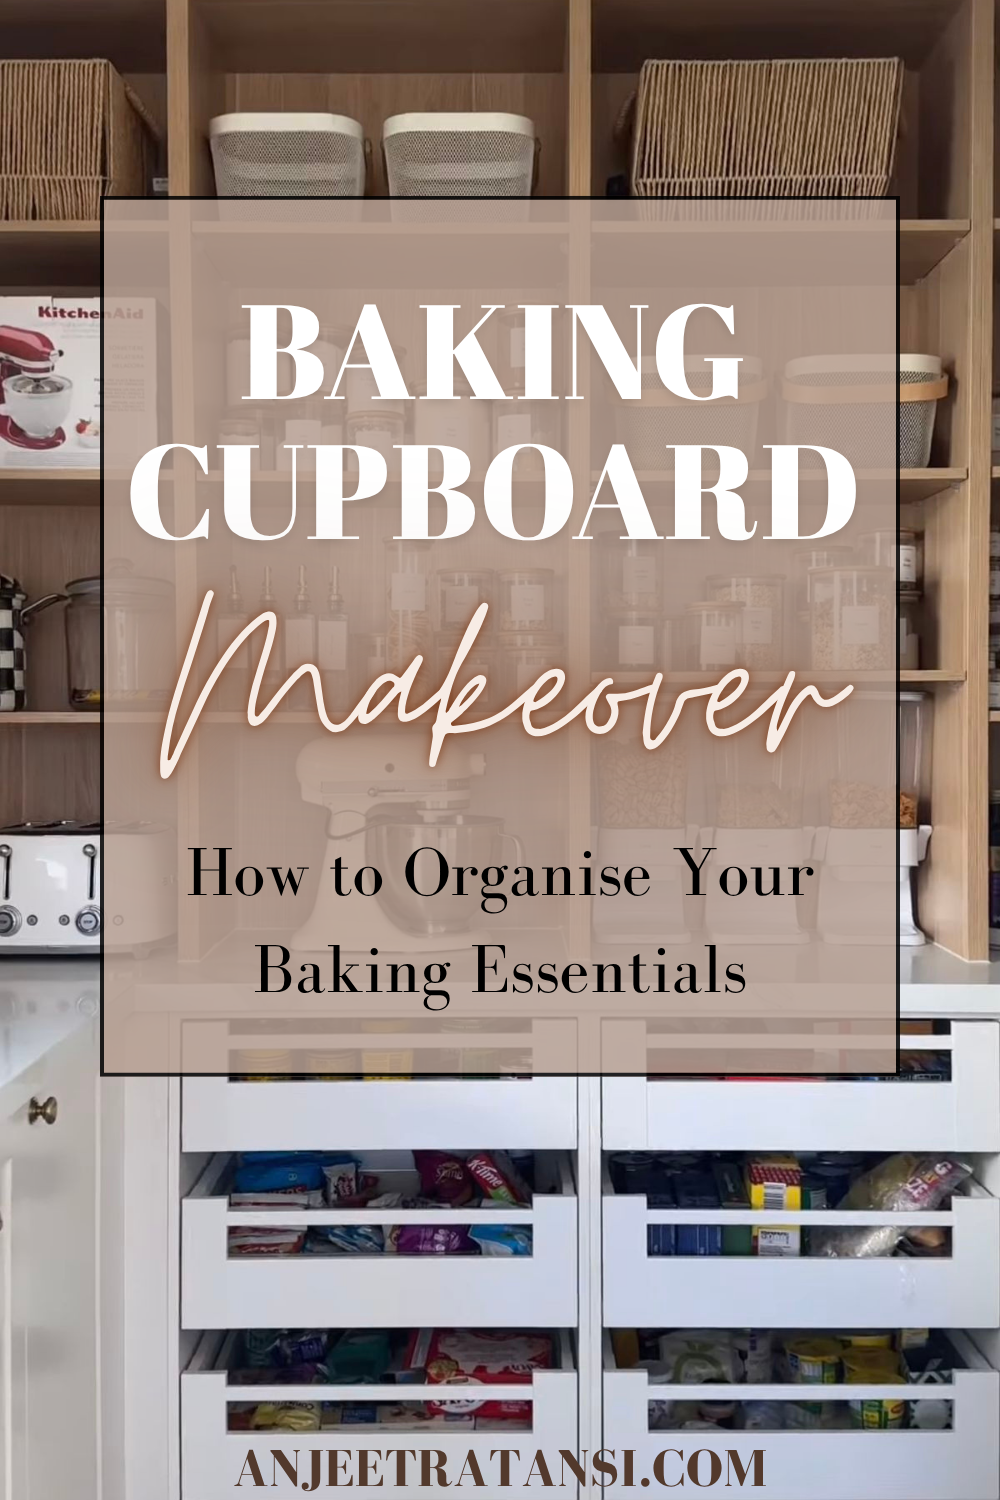
Baking season is around the corner and i was faced with the task this week of organizing my baking cupboard! 🍪
My favorite thing about fall and winter is baking. I don’t know why but i feel like baking calories during this time just don’t count! For me, it is what these seasons are here for. I love baking, it is one of the ways i show people i love them. I just recently threw together some white chocolate chip cookie bars for my brother who was sick, because to me they are the cure for a cold! Baking also helps me to enjoy the colder, darker months, like a form of self care.
You should try my vanilla bean scone recipe, they are to die for. Maybe you could bake them for someone you love.
Being a baker means that i have a cupboard that is dedicated to baking supplies which can get messy, overcrowded, and over filled. Over the years in various homes we have lived in, my baking cupboard has been a drawer, a little shelf in the pantry, and even a utility cart. Whatever it may be for you, keeping it organized is essential.
There is something just feels so good when you know exactly what ingredients you have and where it all is. I find that it takes the stress out of baking and cooking and makes being in the kitchen more enjoyable.

Whether you bake bread every week, enjoy making cakes for birthdays, or simply like having the ingredients on hand to make a batch of cookies, an organized baking pantry can make a real difference to how your kitchen functions.
The trouble is that baking ingredients can quickly take over a cupboard. Bags of flour get pushed to the back, half-used packets of chocolate chips seem to multiply, and it is surprisingly easy to forget about ingredients you already have. Then we buy more thinking we don’t have what is sitting in the back of the cupboard.
In this guide, I will walk you through how to organize a baking pantry, which ingredients to keep on hand, how to store them properly, and how to maintain your system once everything is in place.
Empty Your Baking Cupboard and Start Fresh
Before buying storage containers or rearranging your shelves, start by taking everything out of your baking cupboard or pantry. I always say that before things look better, they look messy!
It is much easier to organize a space when you can see exactly what you have. You may find that you have several open bags of the same flour, ingredients you forgot you purchased, or items that have been sitting at the back of the cupboard for months.
Place everything on your kitchen counter or another clean surface so you can sort through it properly.
Throw out anything that is out of date and things that you haven’t used in a while that you know you won’t use. Once you have sorted everything, group the remaining ingredients into categories. This will give you a much clearer idea of how much space you need and which items you use most often.
Clean Your Shelves Before Putting Anything Back
With the cupboard empty, take the opportunity to clean it thoroughly.
Remove crumbs, flour dust, and any sticky residue from the shelves. If you have had problems with pantry pests, inspect corners, shelf joints, and the packaging of dry goods before returning anything to the cupboard.
Allow the shelves to dry completely before putting your ingredients back.
When i did this the other day, i found an exploded bottle of purple food coloring at the back of my shelf! It took a while to remove the stains, but luckily it all came out.
Group Your Baking Ingredients Into Categories
Instead of arranging everything wherever it happens to fit, group similar ingredients together. This makes it easier to see what you have, find ingredients quickly, and notice when something needs replenishing.
Here are the main categories I would use.
Flours and baking grains
Keep your everyday flours together, including all-purpose flour, bread flour, whole-wheat flour, and any alternative flours you regularly use.
If you bake frequently, you may also keep ingredients such as rolled oats, cornmeal, or semolina nearby.
Store each flour in a clean, dry, airtight container that protects it from moisture and pests. Label the container clearly, especially if you use several varieties that look similar.
Remember that different flours have different storage needs. Wholegrain flours contain more natural oils than refined flours and can become rancid more quickly. Follow the package guidance, and consider refrigerating or freezing wholegrain flour if you will not use it promptly.
Sugars and sweeteners
Create a dedicated area for the sugars and sweeteners you use most often.
This might include:
Granulated sugar.
Brown sugar.
Icing sugar.
Caster sugar, if you use it.
Maple syrup or honey.
Other sweeteners used in your regular recipes.
Keep dry sugars in suitable airtight containers to prevent moisture from affecting their texture. Brown sugar may harden when exposed to air, so a well-sealed container is particularly helpful.
Store liquid sweeteners according to their packaging instructions.
Raising agents and baking essentials
Baking powder, baking soda, yeast, salt, and cornstarch are all ingredients you may reach for regularly.
Because these products are used in relatively small quantities, they can easily become lost behind larger containers.
Place them together in a small, clearly labelled section of your pantry.
Keep them dry and tightly sealed, and check their condition and expiry or best-before information periodically. Yeast and other raising agents can lose effectiveness over time, so it is worth checking that they are still suitable for use before relying on them in a recipe.
Chocolate, cocoa, and baking decorations
If you enjoy making cakes, biscuits, brownies, or other sweet treats, you may want a separate section for chocolate chips, cocoa powder, baking chocolate, sprinkles, and other decorations.
Keep these items together so you can quickly see what you have available.
Chocolate is sensitive to heat and can develop a pale surface coating when its fat or sugar crystallises. This does not necessarily mean it is unsafe, although its texture and appearance may change. Store it in a cool, dry place away from strong smells and heat.
Nuts, seeds, and dried fruit
Ingredients such as almonds, walnuts, pecans, pumpkin seeds, raisins, and dried cranberries are useful for baking breads, muffins, and other recipes.
However, nuts and seeds contain oils that can become rancid, so they need a little more attention than some other dry ingredients.
Store them in airtight packaging and follow the storage guidance on the label. Refrigeration or freezing can help preserve quality when you buy larger quantities or use them infrequently.
Keep dried fruit sealed to prevent it from drying out excessively or absorbing moisture.
Flavorings and extracts
Vanilla extract, almond extract, cinnamon, nutmeg, and other spices deserve their own place in your baking pantry.
You might prefer to keep spices with your general cooking ingredients instead. Either arrangement works, as long as you can find what you need easily.
Store spices away from heat, moisture, and direct sunlight to help preserve their flavour.
Choose the Right Storage Containers
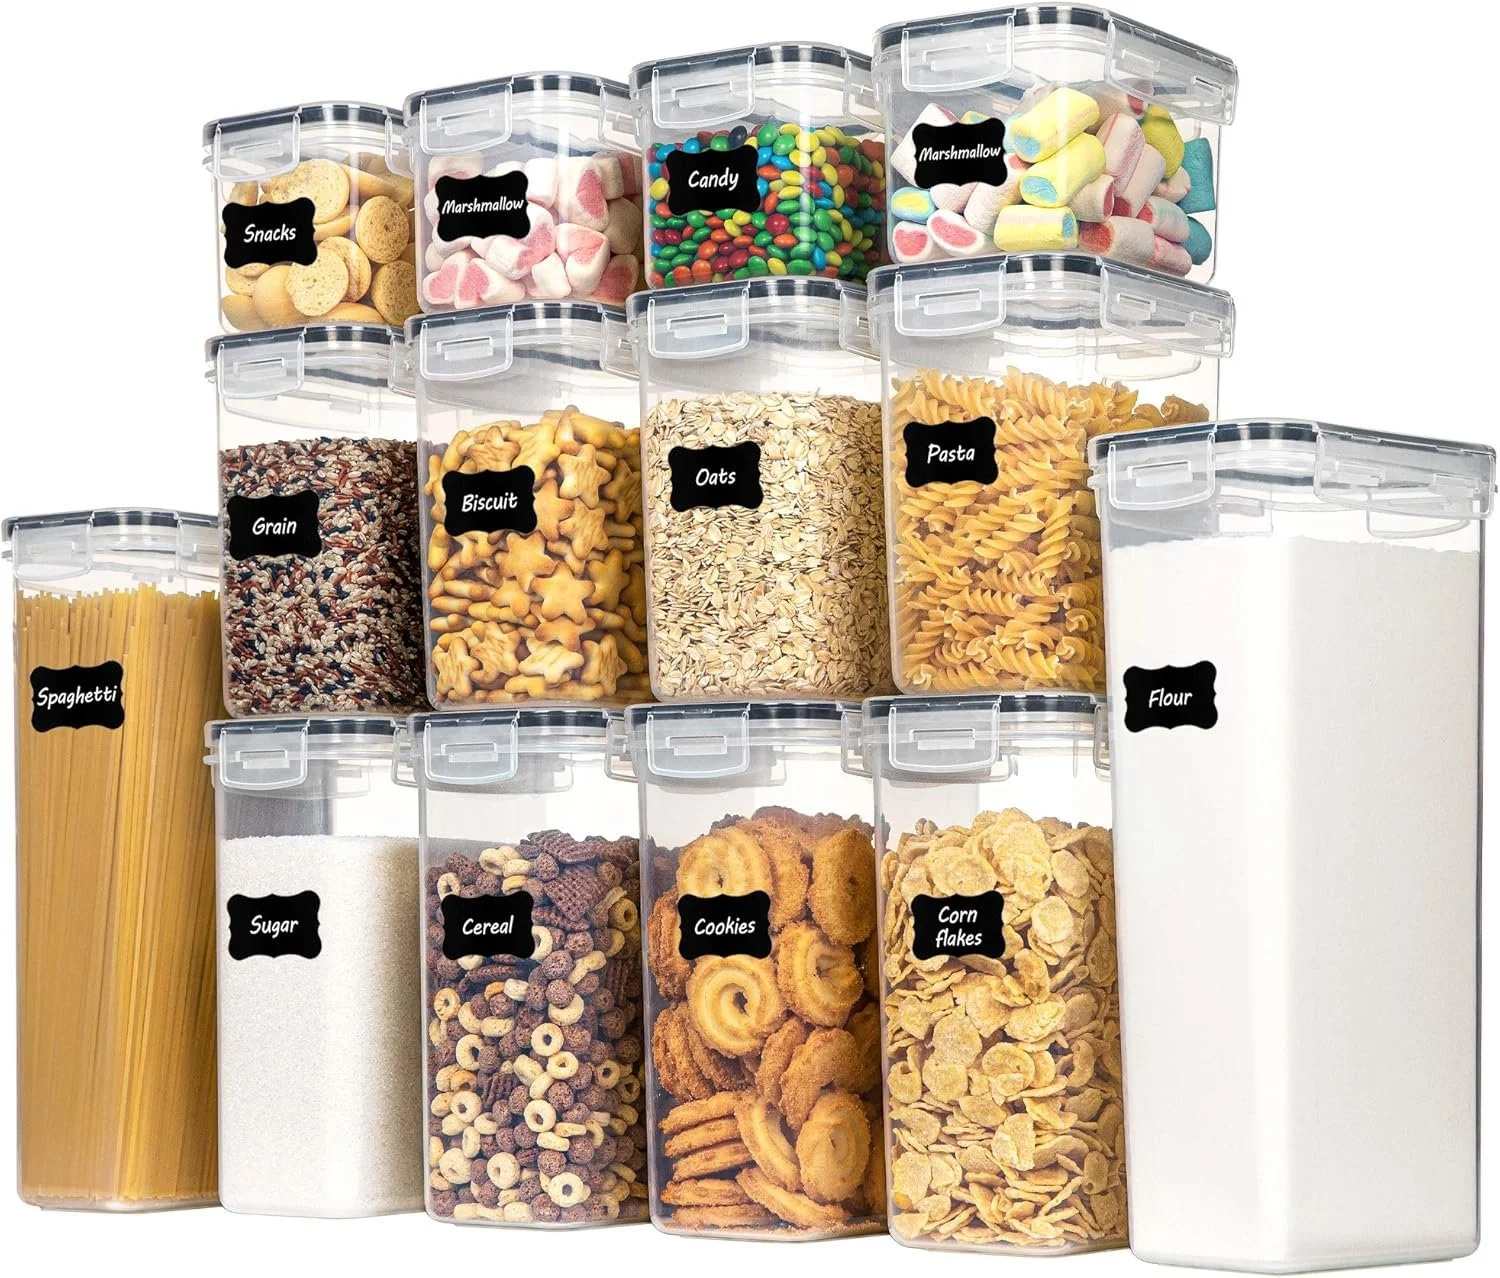
Once your ingredients are grouped, you can decide which ones would benefit from dedicated storage containers.
You do not need to decant every ingredient. Some products can remain in their original packaging, particularly if the packaging is resealable, clearly labelled, and suitable for storage.
However, airtight containers can be helpful for frequently used ingredients such as flour, sugar, oats, and chocolate chips.
When choosing containers, consider the following.
Airtight seals: These help protect dry ingredients from moisture, pests, and exposure to air.
Suitable capacity: Choose containers that hold the quantity you normally buy without leaving you with awkward, half-filled containers or bags that do not fit.
Easy access: Wide openings make it easier to scoop flour or sugar without spilling it everywhere.
Clear labels: You should be able to identify ingredients without opening every container.
Easy cleaning: Containers should be easy to wash and dry thoroughly before being refilled.
Glass containers can look attractive on open shelves, while food-safe plastic containers are often lighter and easier to handle. Both can be useful, provided they are appropriate for the ingredient and kept in good condition.
If you transfer an ingredient into another container, keep its original label or record the product details and date. This is particularly helpful for ingredients with specific storage instructions or allergen information.
Always make sure containers are completely dry before adding flour, sugar, or other dry ingredients.
Arrange Your Pantry According to How You Bake
Once your ingredients are organized into categories, think about where each category should go.
I find that a practical pantry is one where the ingredients you use most often are the easiest to reach.
For example, if you bake bread every week, your bread flour, yeast, and salt should be accessible. If you regularly make cakes and cookies, your everyday flour, sugars, baking powder, and vanilla extract might be more to the front so that you can grab them easily without taking everything out.
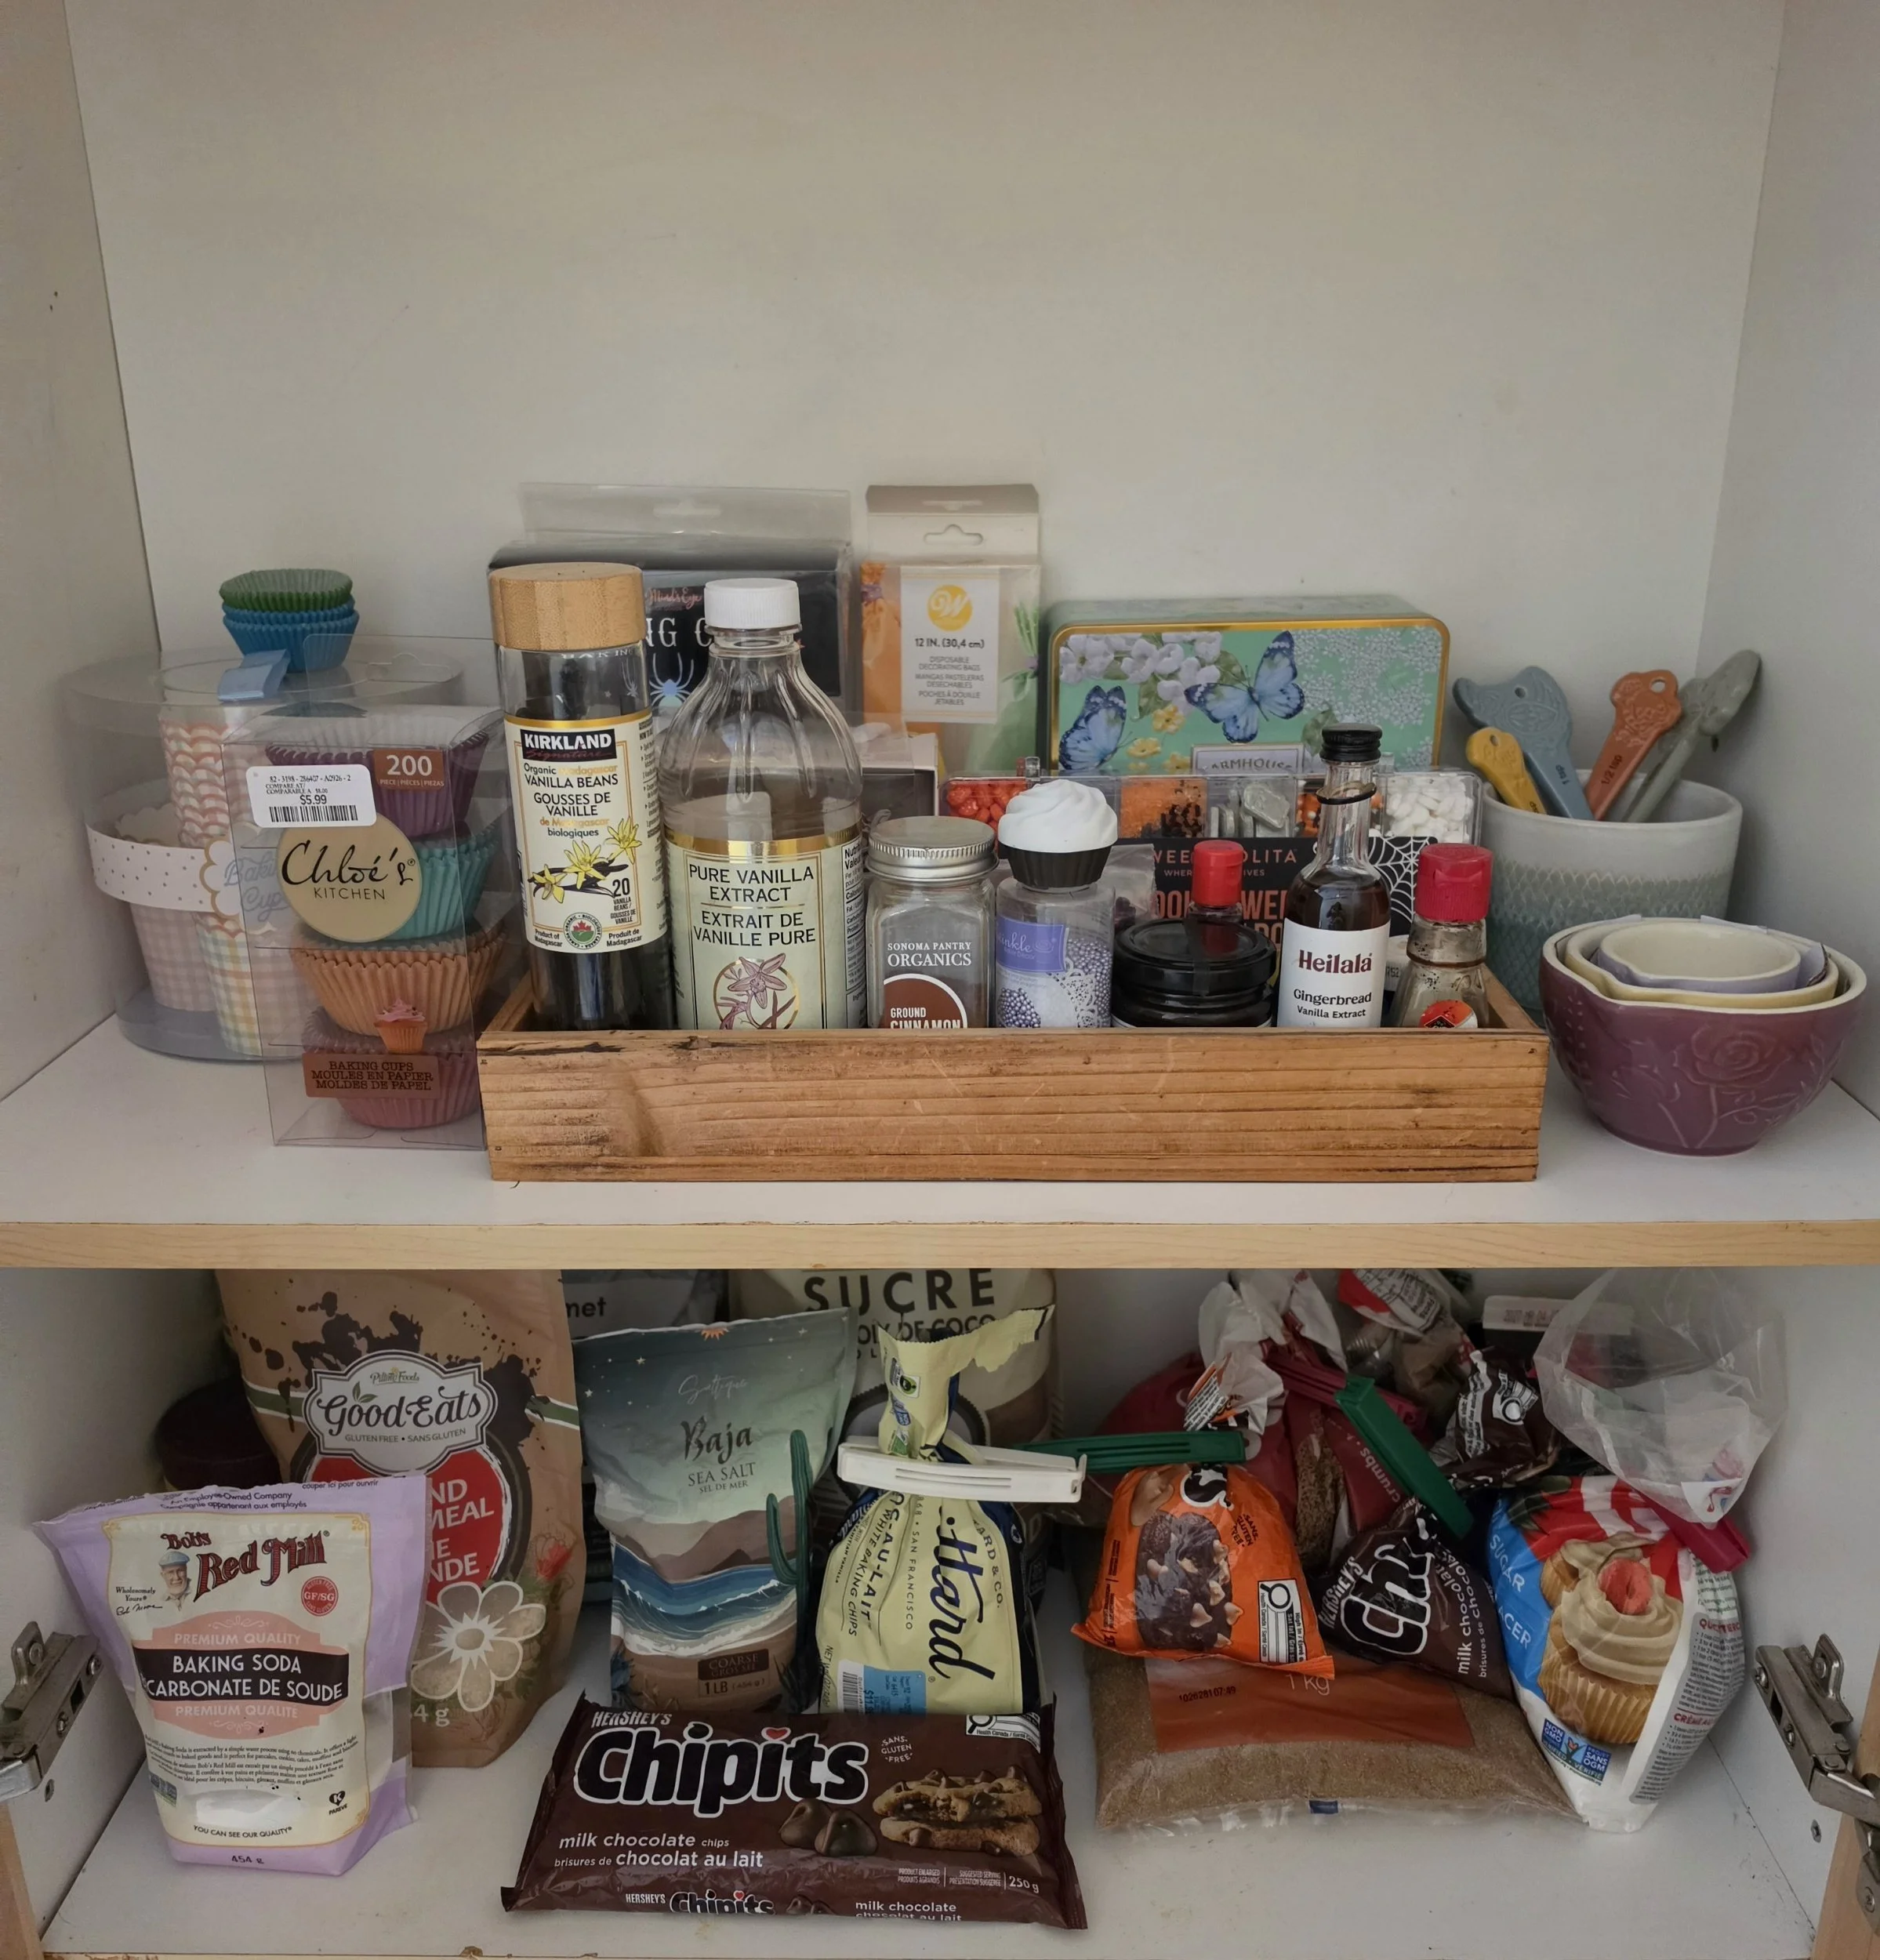
My baking cupboard.
Keep Your Baking Equipment Together
An organized baking pantry is not just about ingredients. Having your most-used baking equipment in a sensible place can make the whole process easier.
Depending on the space you have available, you might keep the following nearby:
Measuring cups and spoons.
Kitchen scales.
Mixing bowls.
Whisks and spatulas.
Baking paper.
Cake tins and muffin trays.
Cooling racks.
Cookie cutters.
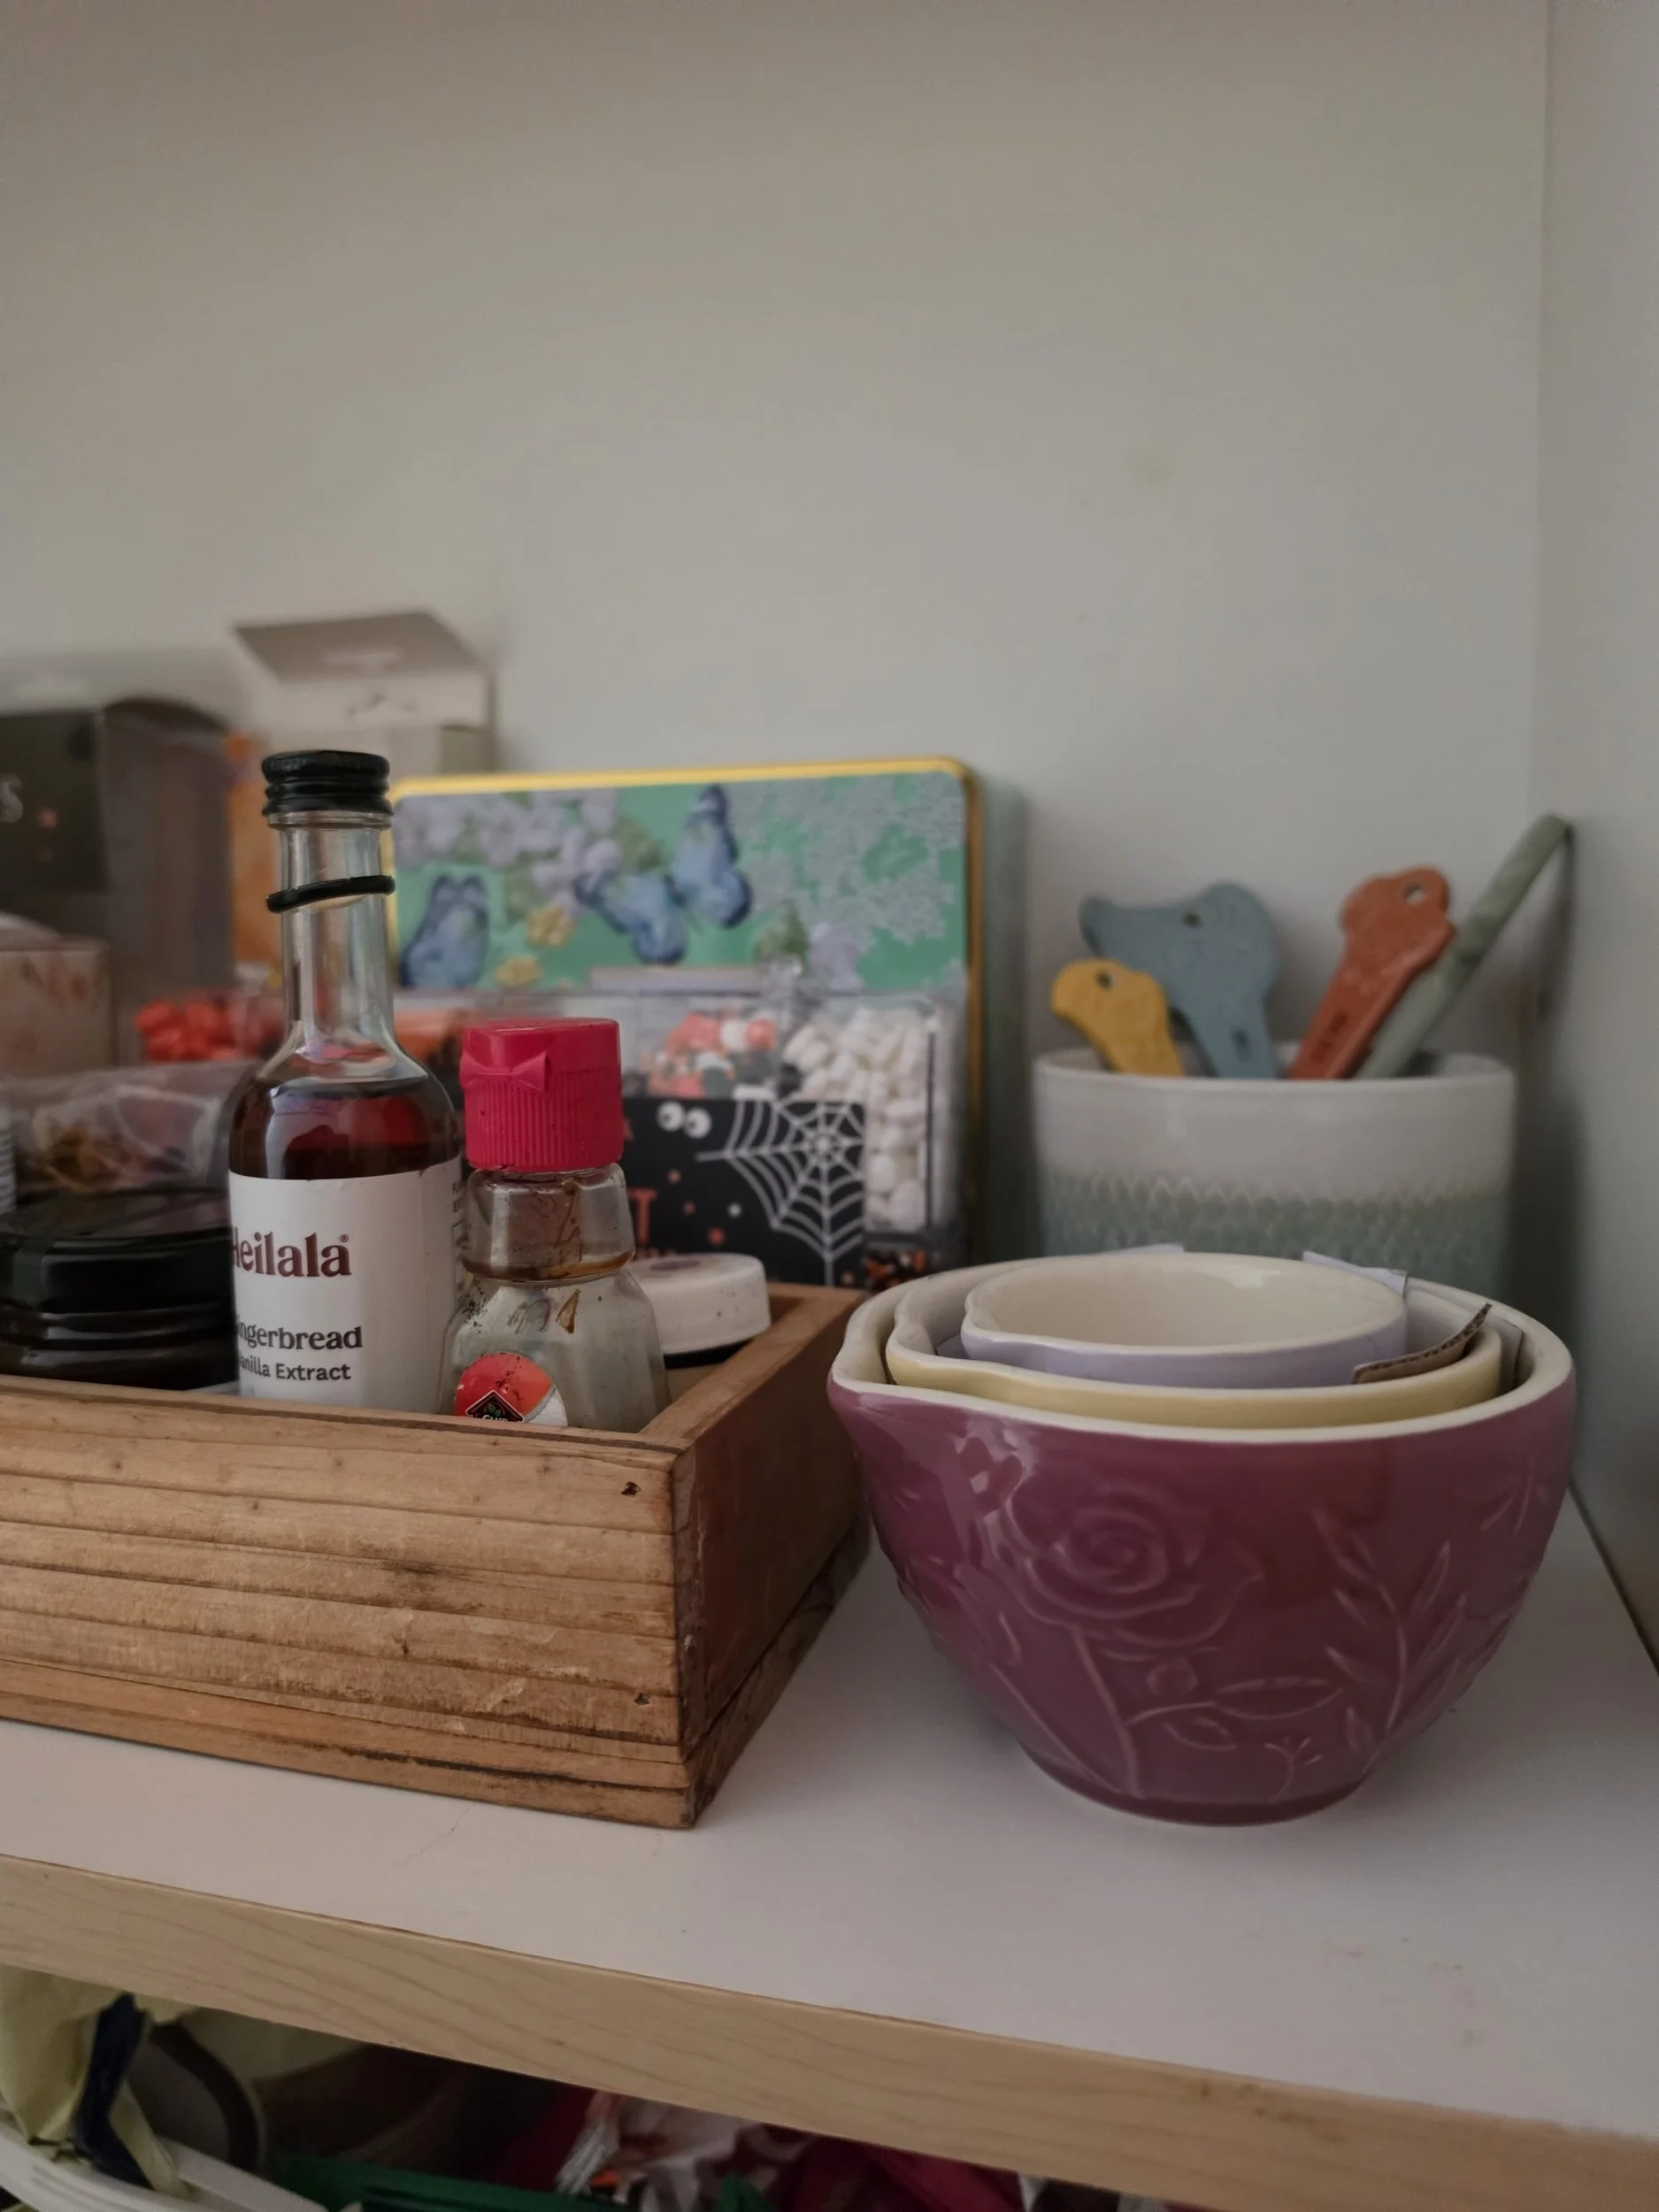
You do not necessarily need to keep everything in the pantry itself. A nearby kitchen drawer or cupboard may be a better place for utensils and equipment. I keep my measuring spoons in my baking cupboard, but my cake pans in my pots and pans cupboard.
The important thing is to avoid having to search several different cupboards every time you want to bake.
If you bake frequently, consider keeping a small collection of your most-used tools together and storing specialist equipment elsewhere.
Check Your Ingredients Before Buying More
One of the benefits of an organized baking cupboard is that it becomes much easier to see what you already have.
Having sorted through everything, you now know what you need more of when you go shopping.
Also, it gives you a chance to see what you need for the baking month ahead. For example; in December i know i will be making a ridiculous amount of gingerbread, so i know i will need to buy ground ginger and other spices if i don’t have it.
Create a Simple Baking Pantry Reset Routine
Once your pantry is organised, you do not need to spend hours maintaining it.
A few small habits can help keep it tidy.
After baking
Put ingredients back in their designated places, seal containers properly, and wipe up any spills.
If you have used the last of something, add it to your shopping list straight away.
Before grocery shopping
Check your staple ingredients and see what needs replenishing.
Look at the quantities you already have before buying more, especially if you are planning to bake a particular recipe.
Once a month
Take a few minutes to inspect your baking ingredients.
Check for damaged packaging, signs of pests, moisture, and ingredients that need to be used soon. Wipe up any crumbs or flour dust and return misplaced items to their proper sections.
Seasonally
Review the ingredients you use most often and adjust your storage if necessary.
Perhaps you bake more during the autumn and winter, or perhaps your summer baking tends to focus on fruit cakes, muffins, and simple desserts.
Your pantry should reflect the way you actually cook and bake throughout the year.
Baking Pantry Checklist: Essential Ingredients to Keep on Hand
If you are starting from scratch, it can be helpful to have a basic list of ingredients to work from.
You do not need to buy everything at once. Begin with the ingredients you use regularly and gradually add others as you try new recipes.
Flours and grains
All-purpose flour.
Bread flour, if you bake bread.
Whole-wheat flour, if you use it.
Rolled oats.
Cornmeal or other speciality flours, as needed.
Sugars and sweeteners
Granulated sugar.
Brown sugar.
Icing sugar.
Honey or maple syrup, if used in your recipes.
Baking essentials
Baking powder.
Baking soda.
Salt.
Yeast, if you bake bread.
Fats and liquids
Butter.
Neutral cooking oil.
Milk or suitable alternatives.
Vanilla extract.
Other extracts you use regularly.
Store refrigerated ingredients such as butter and milk in the refrigerator, not in your dry baking pantry.
Flavorings and additions
Cocoa powder.
Chocolate chips or baking chocolate.
Cinnamon.
Other frequently used spices.
Nuts and seeds.
Dried fruit.
Cornstarch.
Baking decorations, if you use them.
This is a starting point rather than a list of things every household needs. The most useful baking pantry is one that reflects the recipes you make and the ingredients your family enjoys.
I used to be a hot mess baker. I would stress myself out with mess and ingredients everywhere! It made baking stressful and i hated the clean up after. When i started using a system, it got a lot easier and the clean up became a breeze. Check out (below) the red velvet cupcakes i made yesterday.