How to make the easiest sourdough starter
This summer i faced my fear… i started making sourdough! I know, i am late to the game but, it has always terrified me and i am not sure why! I am going to share with you, the easiest way to make sourdough from my experience.
So my latest obsession is making sourdough, as i write this i am watching my just fed starter rise almost to the top of its jar! It is very exciting if you are a baker like me.
I am not sure why sourdough has always intimidated me, i think it may be all of the various tutorials and blogs that make it seem much harder then it actually is. But, from my experience and just looking at my starter to see what it needs, it has actually been surprisingly easy.
So about 3 weeks ago, i started my sourdough starter. Very simply i added:
½ cup of all purpose flour
¼ cup of water
To a clean mason jar, closed the lid and left it on my counter. The next day i did the same thing. The third morning i discarded about half and then added the amounts above back to the jar.
Now, i know that people will tell you to discard half of your starter each day but, the reason for discarding is only to create room in your jar. With noting happening in the first few days i actually didn’t discard until the third day.
On the third day i also experienced a ‘false rise’ in my starter. This just let me know that i was on the right track but also that the starter wasn’t strong enough to bake with yet. The important thing here is to keep going with the daily feeding.
From day three i did discard everyday.
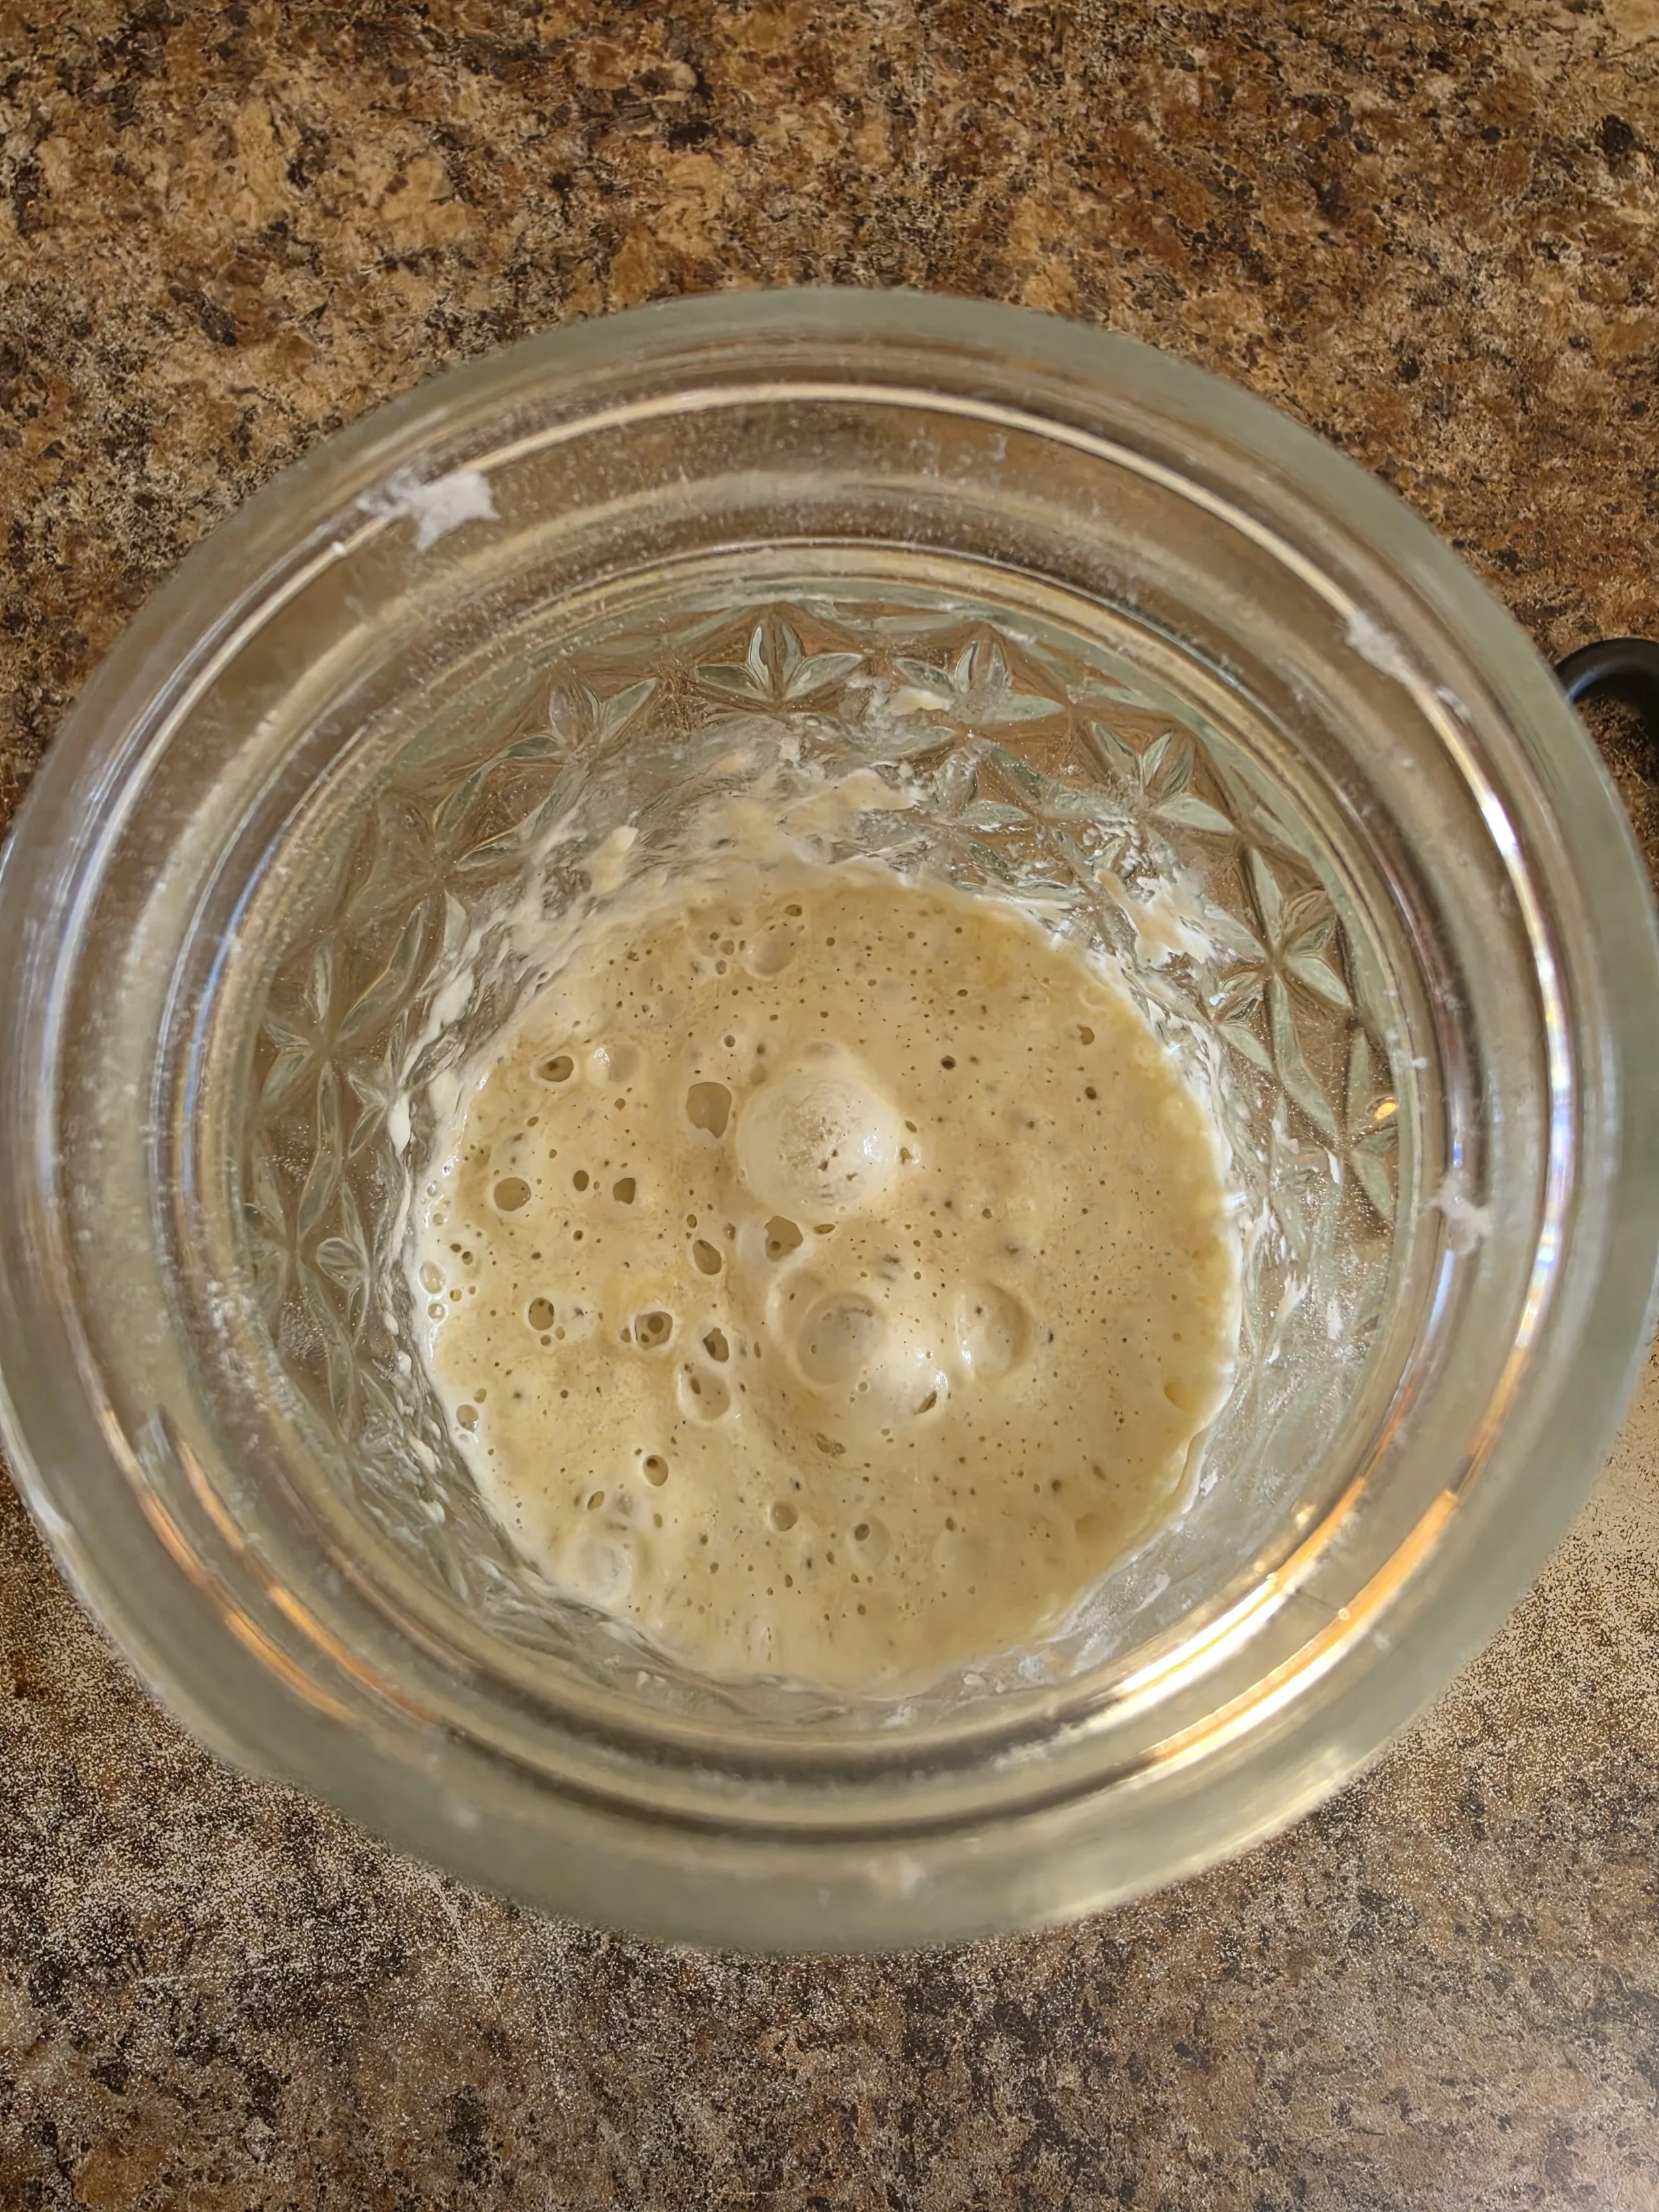
My false rise.
Now despite all of the information out there, after seven days, my starter was not ready to bake with. It was a bit runny and this let me know that it was hungry. I kept feeding until around day 9 when my starter was ready.
Things to look for to know your starter is ready:
Lots of bubbles
Thicker consistency
Rising 2-4 hours after feeding
Pro tip: After feeding my starter everyday, with a dry erase marker, i mark with a line how far my jar is. Then when i check back to see if it has risen, i can then see how high it has gotten.
When your starter looks thicker and is rising daily, this is when you know it is at its peak and ready to bake with.
Baking sourdough is a long game but when you taste the bread, you will know that it is worth it. Since it requires no yeast this bread is gut friendly and better for digestion overall.
Making a sourdough loaf, my process!
Now that your starter is ready, here is how you make the best loaf:
Add one cup of the starter to a clean bowl
Pour in 1 ½ cups of water and stir until the starter dissolves
Add 3 cups of flour - use your judgement here, if its too dry add more water
Add 1 teaspoon of salt
Mix until you get a choppy looking, shaggy dough - don’t over mix. Cover and let sit for 4-6 hours.
I like to make my dough around 11am for a bread that bakes the next morning.
After 4-6 hours you should see the dough become smoother and doubling in size. This is when you can do what is called the stretch and fold.
I like to do this with wet hands so that the dough doesn’t stick to my hands.
Stretch and fold: Grabbing one end of the dough, pulling up and then then back down into the opposite side of your dough ball. I do this with each corner, at least 3 times before i put my dough in the fridge overnight.
Make sure that before you go to bed, you are putting your dough into the fridge to rest overnight.
The morning, your dough will be ready to bake!
With your dough on the counter, you can now shape your bread. Flatten the dough with your hands and then roll it in from both ends until it meets in the middle. Do the same with the the other side. Add some parchment paper to your bowl.
Flip it over and shape into a ball shape and place your dough into the parchment paper in the bowl.
You can now score the bread, this is important. You can score an ‘X’ on your loaf or create any design you like. While you do this make sure your oven is preheating and your Dutch oven is heating inside.
Once heated and the Dutch oven is hot, lift the parchment paper and place it inside.
Bake in a Dutch oven, covered on a 450F heat for half an hour and then uncovered for around 15-20 minutes.
When you take it out, you will have the most amazing bread! Let the loaf cool before eating as it will be easier to cut.
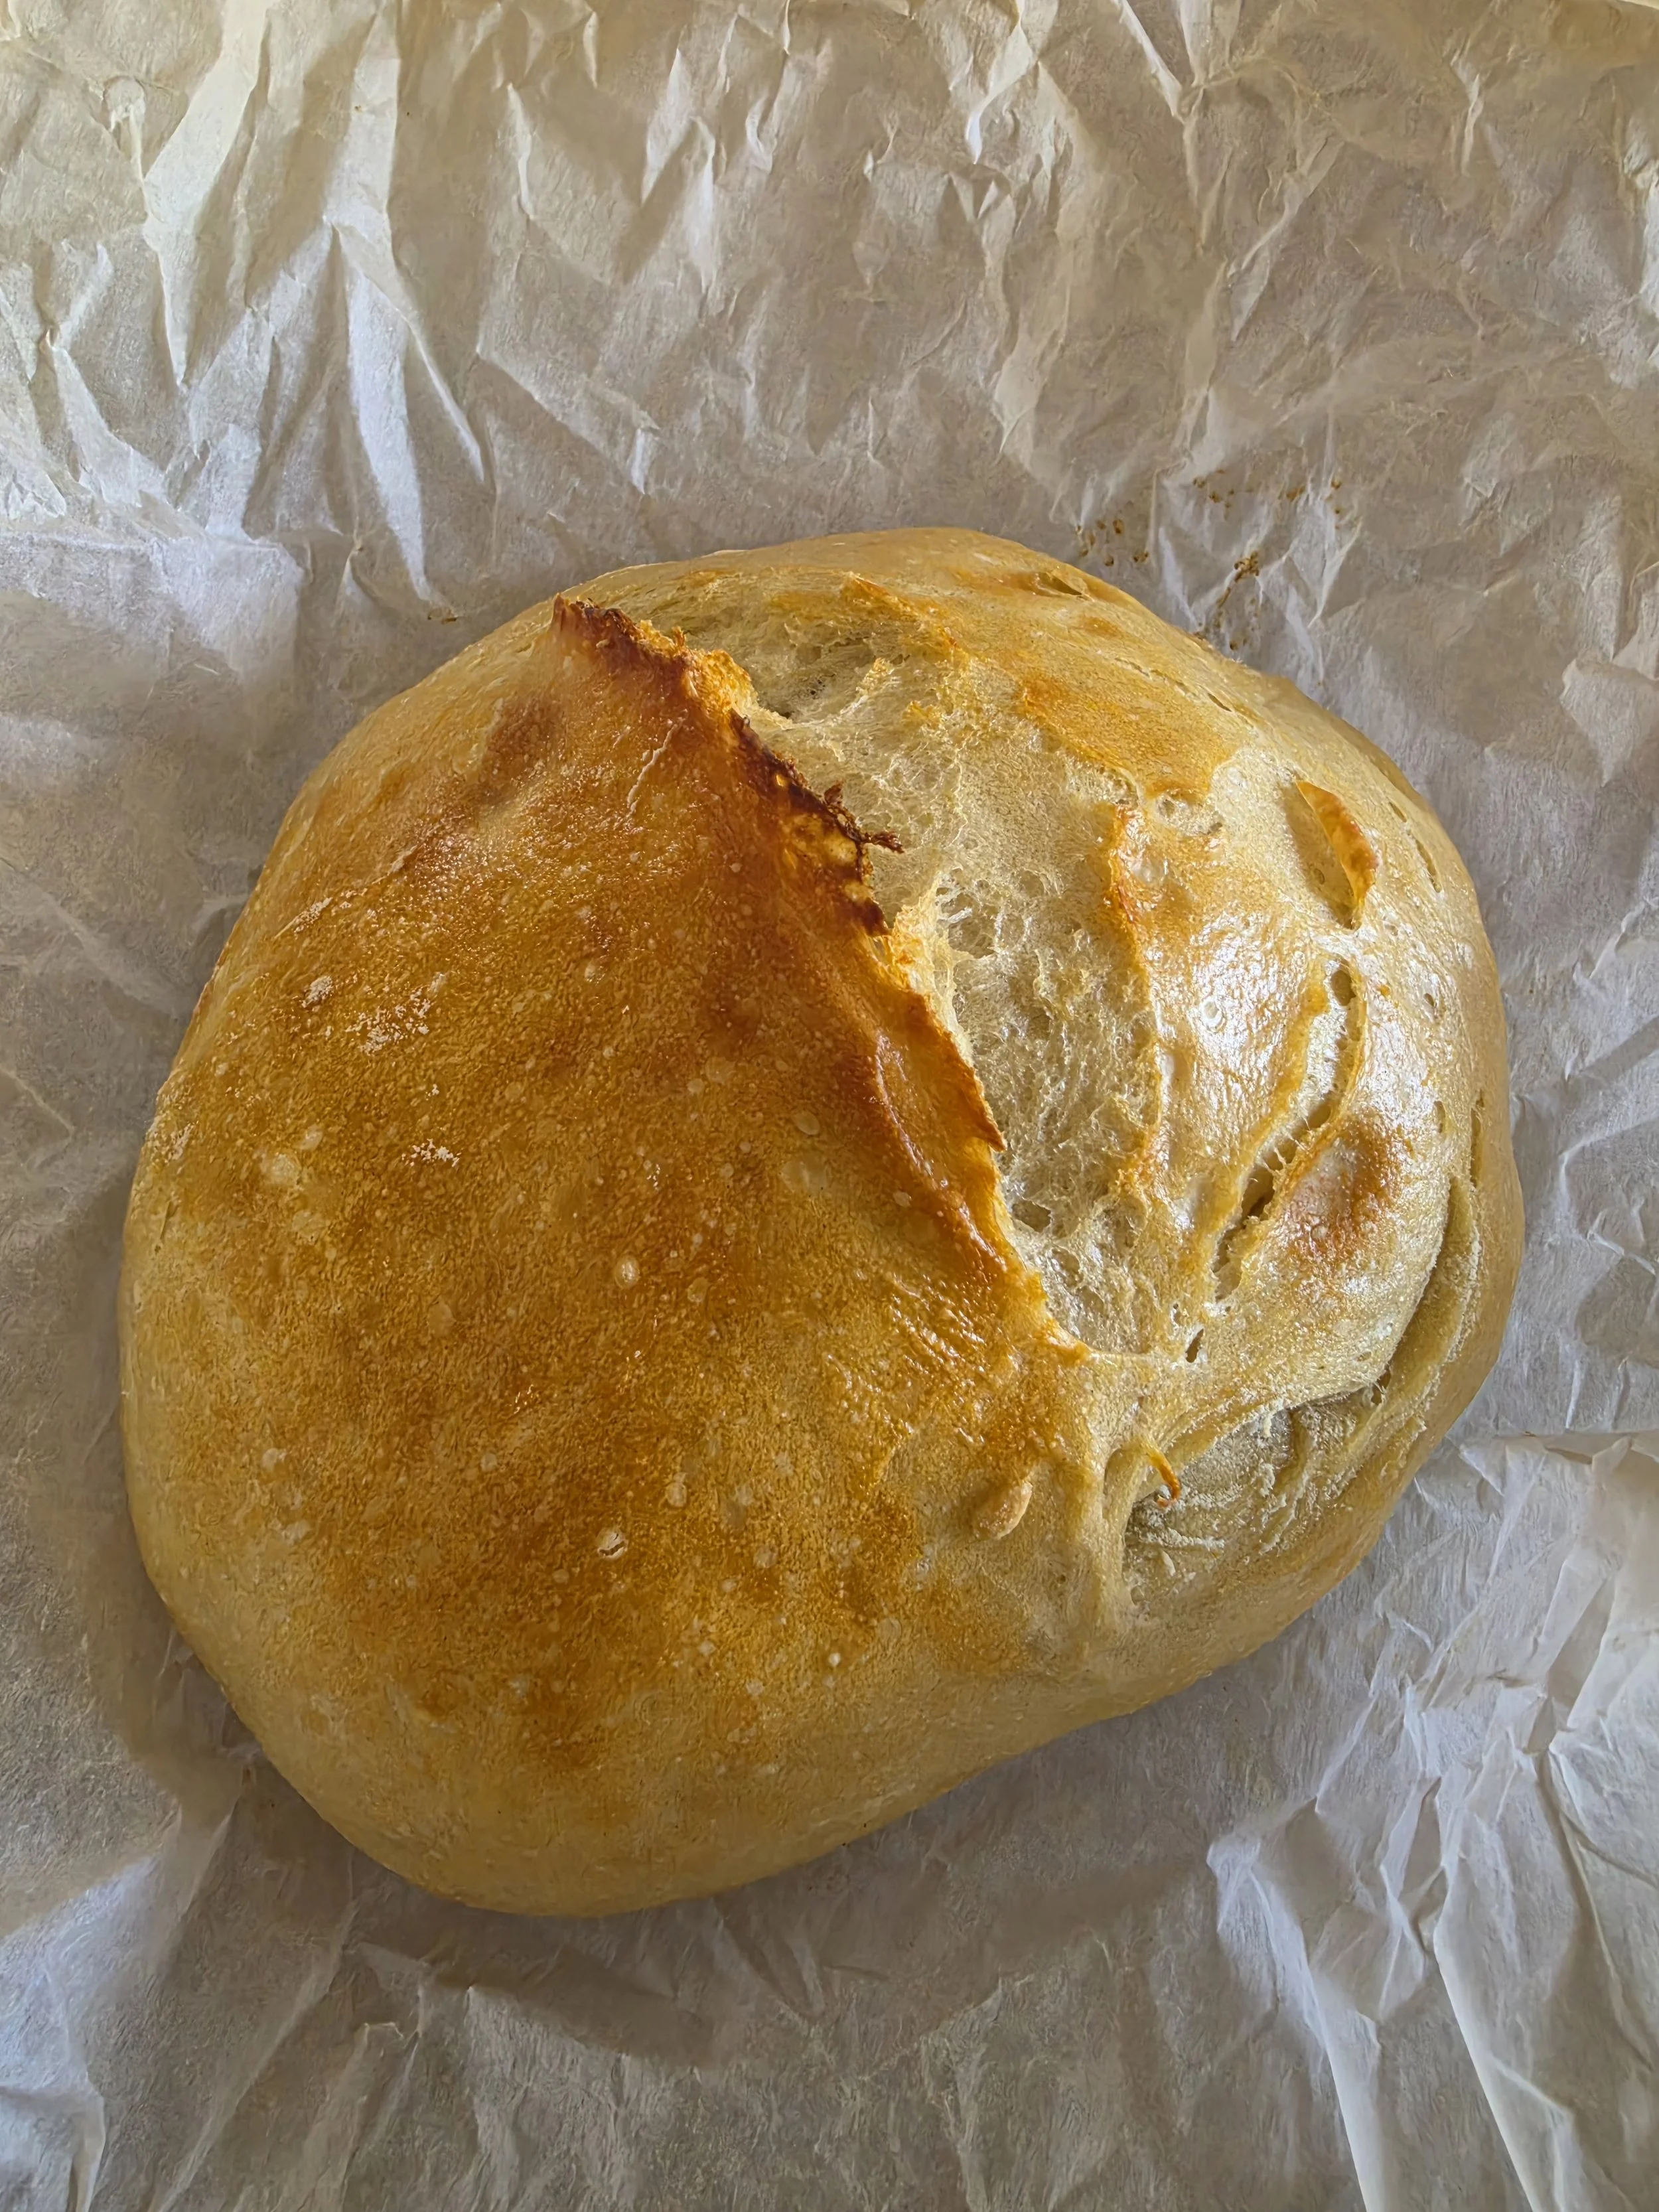
My very first loaf!
My first ever loaf (above) came out very well using this method. My second loaf (below) was even better.
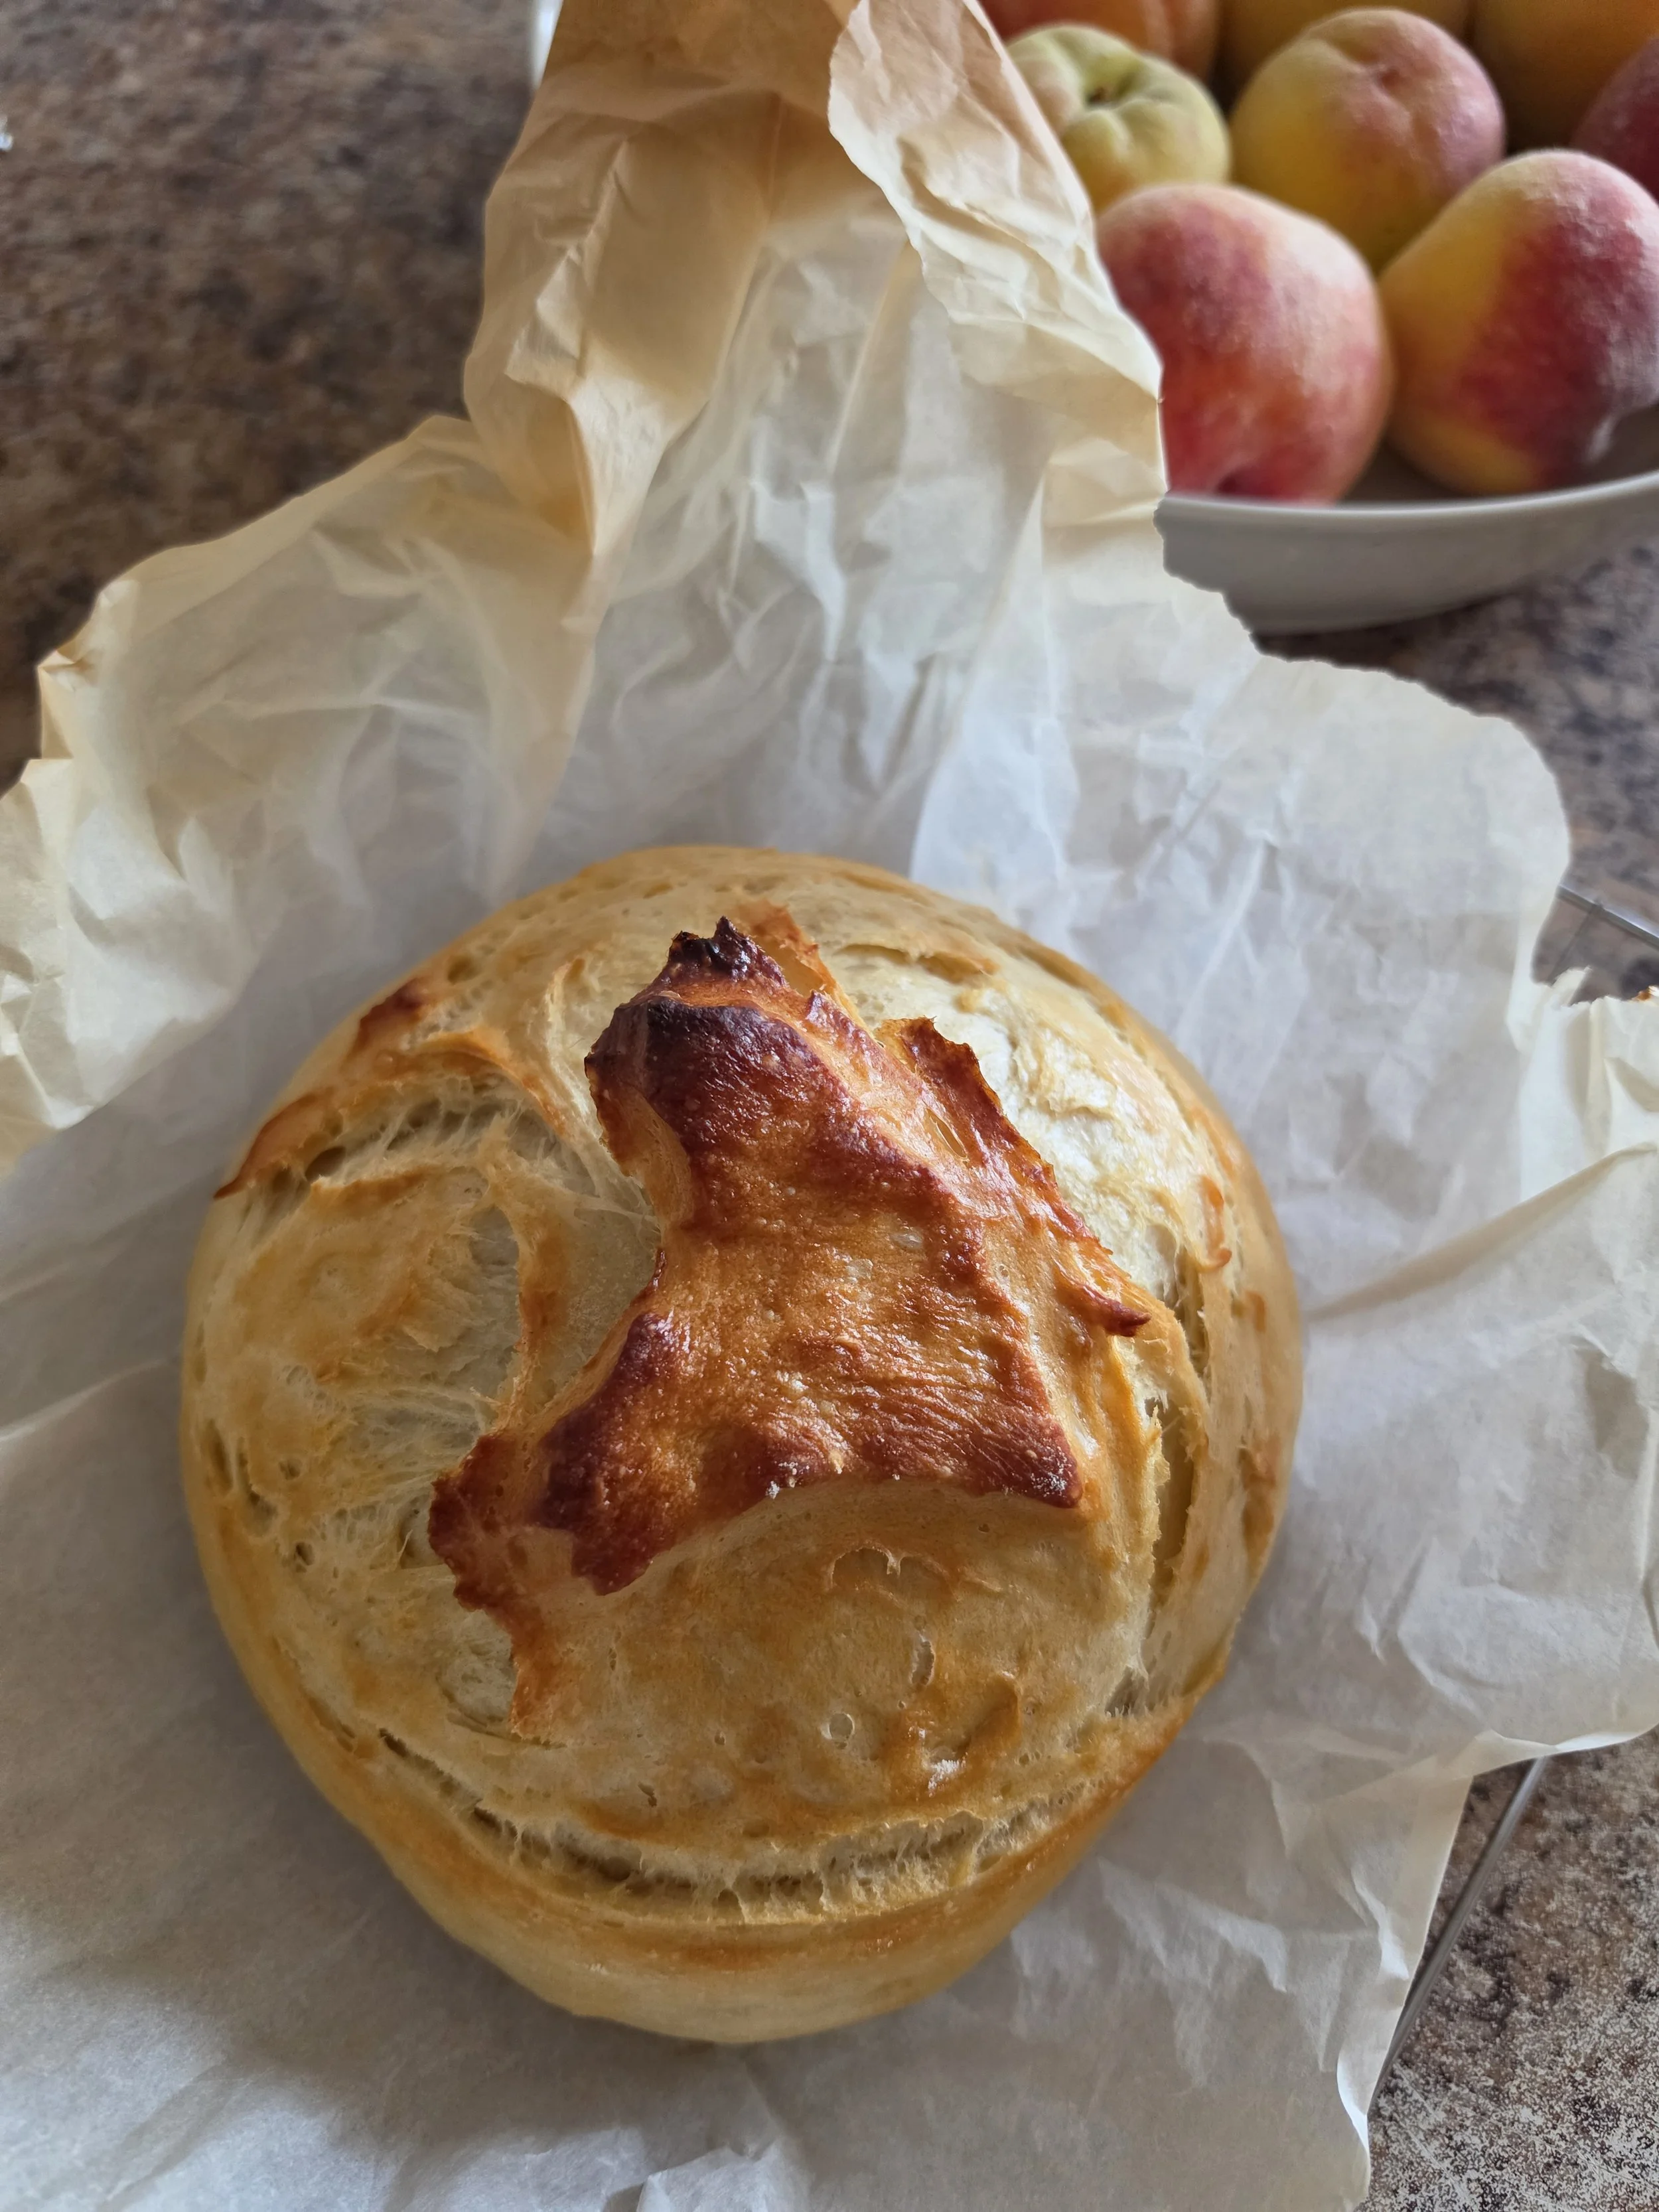
The best bakeware
When i was growing up in England, my family had the most amazing baking bowls. They were these beautiful Mason Cash bowls and i have been looking for replacements ever since. I was so excited when i saw that my local grocery store started to carry Mason Cash bakeware!
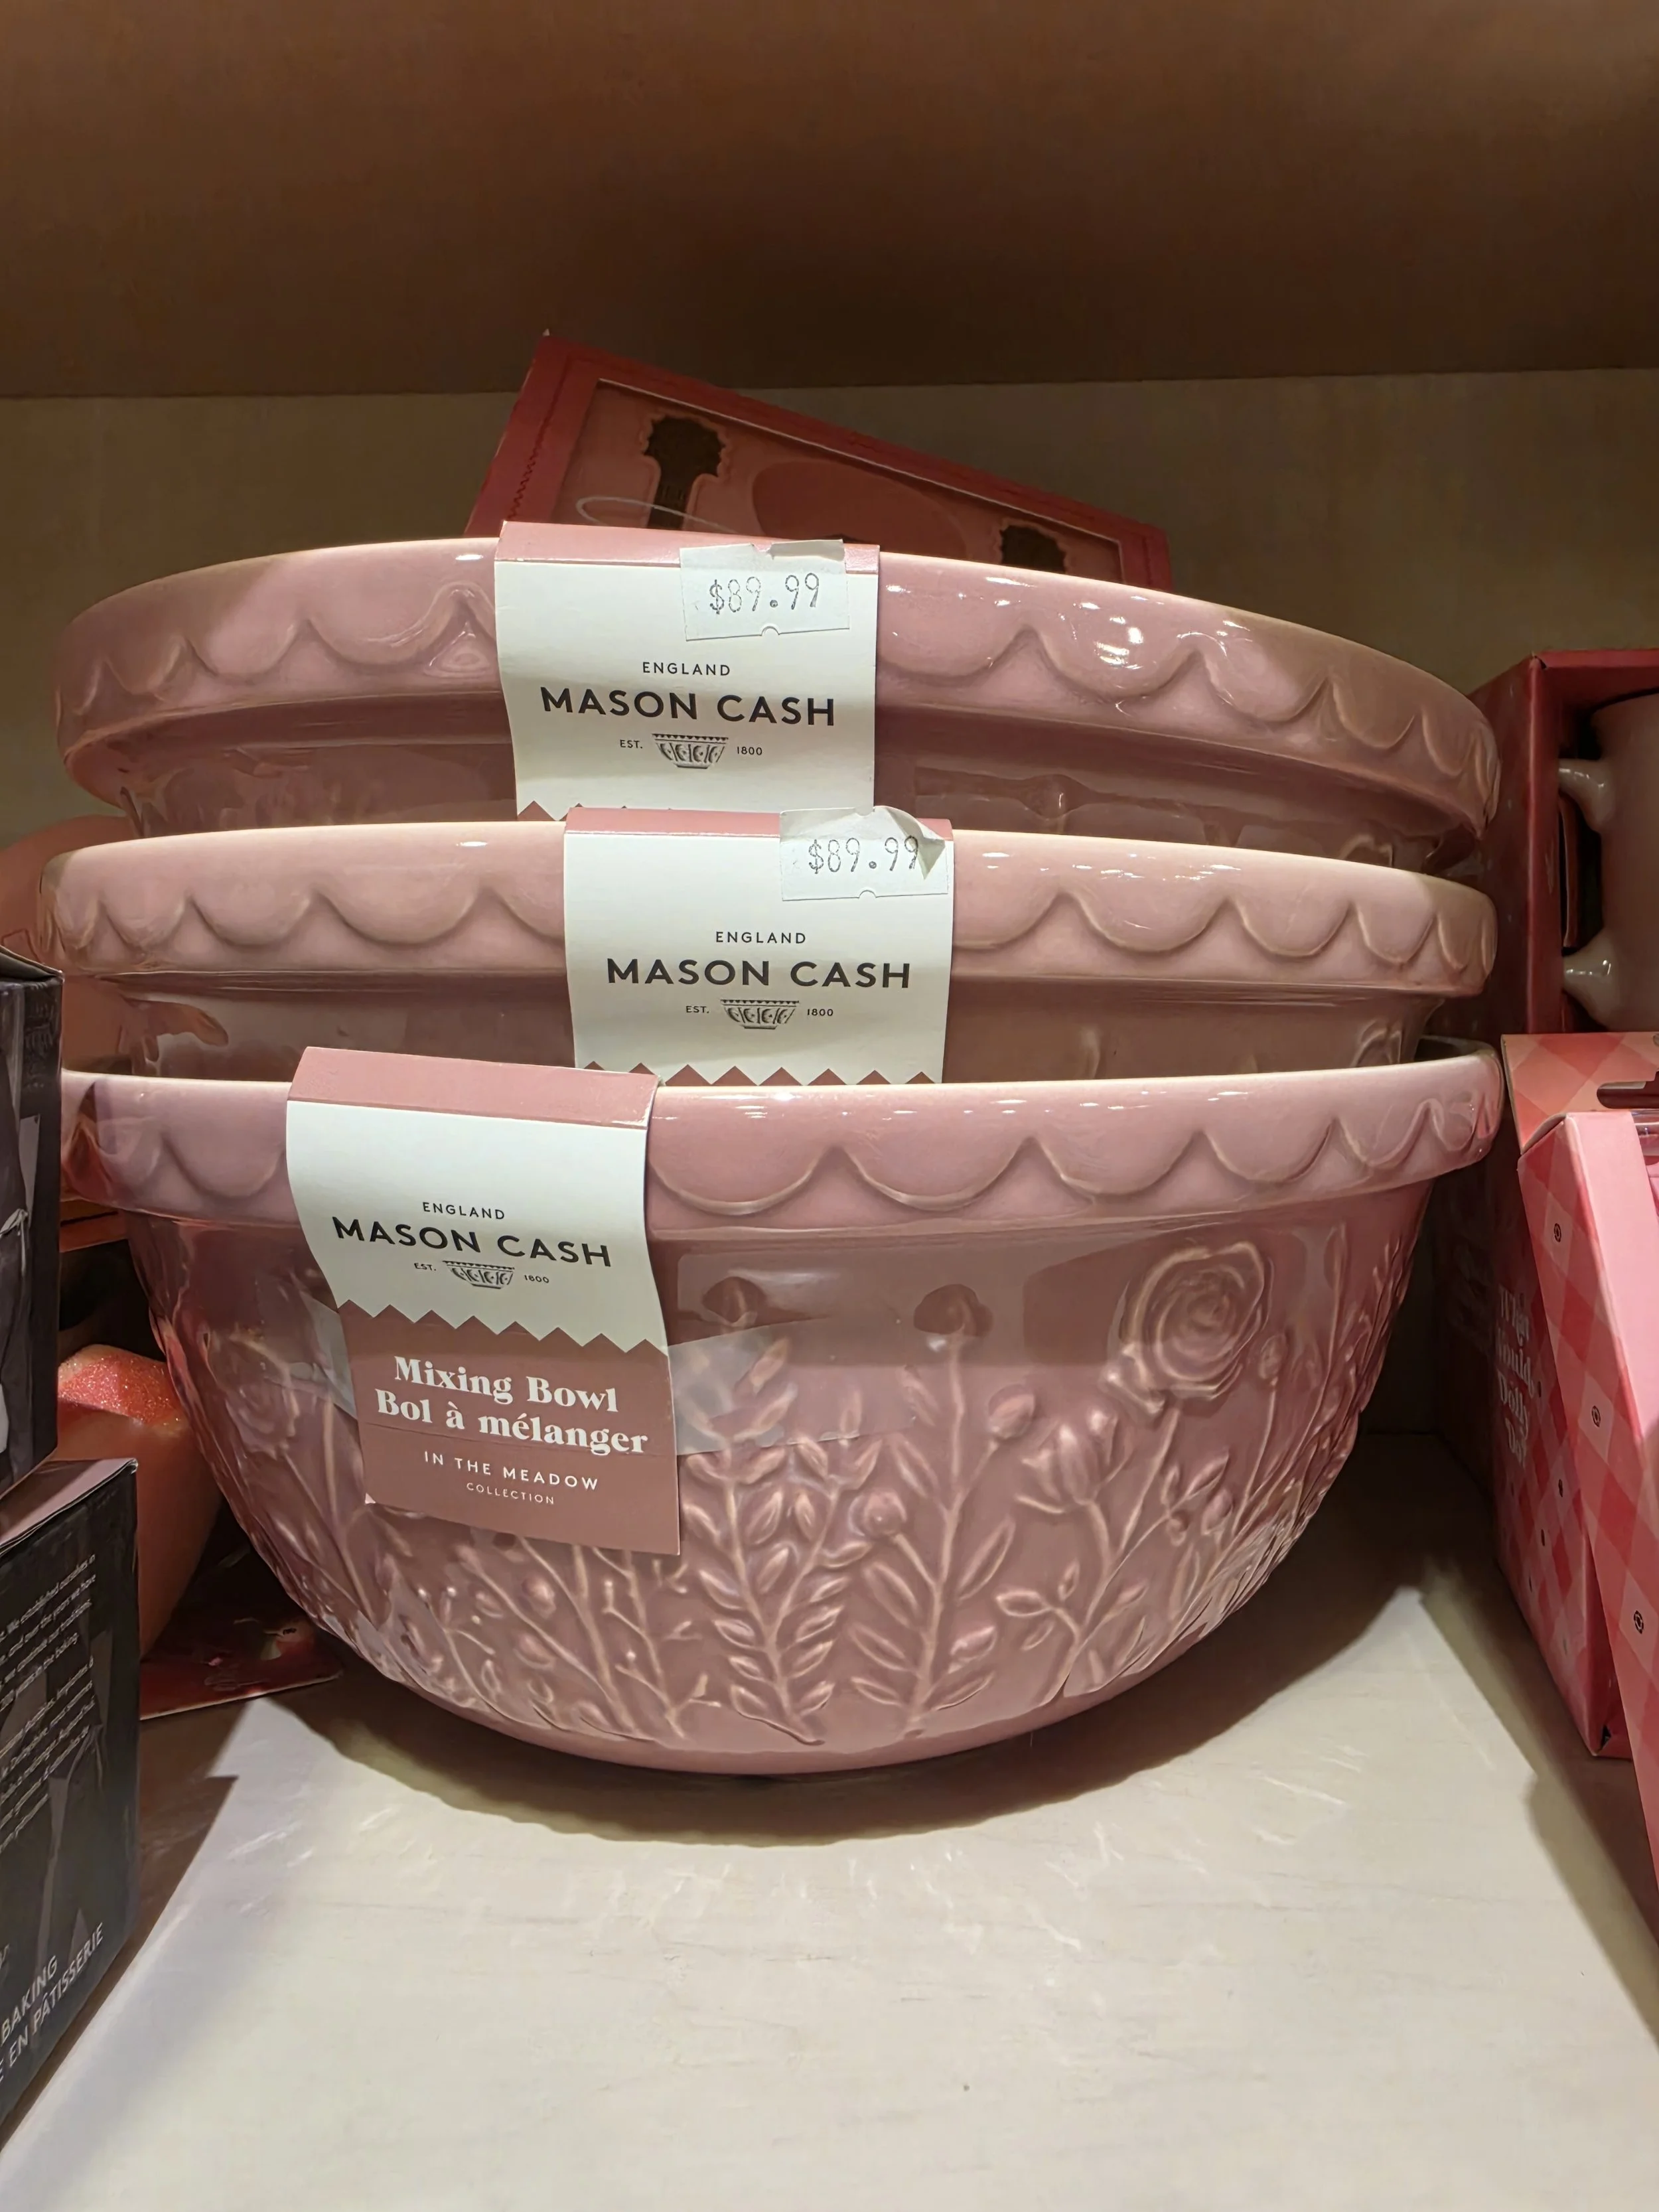
These not only make me feel so nostalgic, they are also perfect for proofing sourdough bread in. They are also very pretty and will make you feel like a pro. They are on the more expensive side but, they will last a lifetime and they are far better then baking in plastic bowls.
I have found my favorites on Amazon that you can shop here.
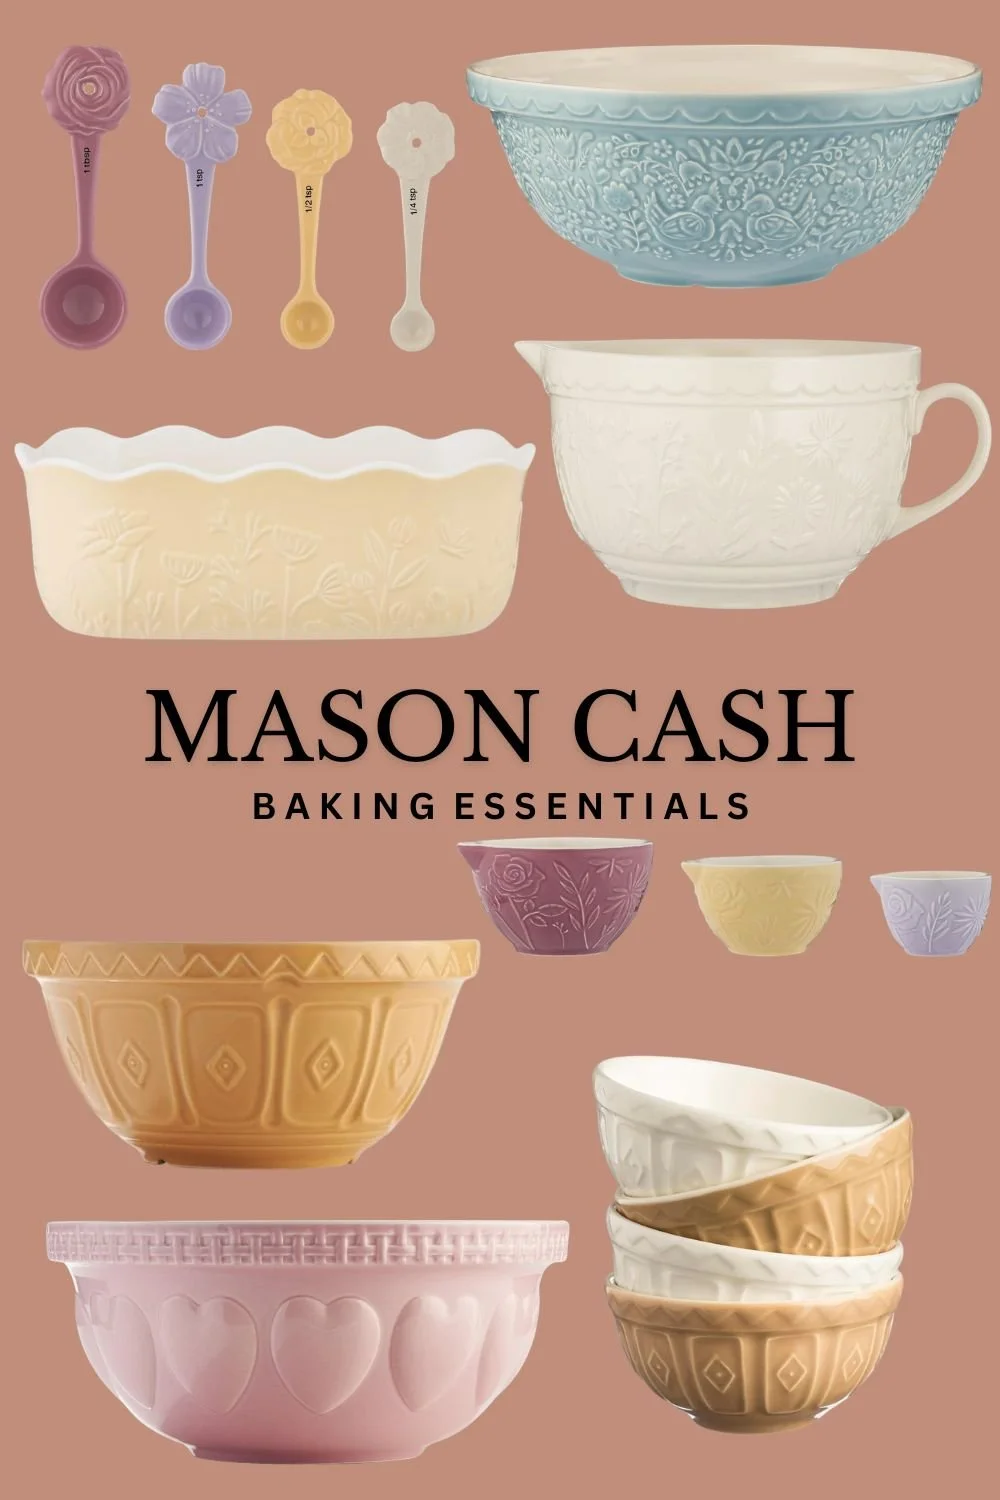
Disclaimer: When you purchase on Amazon using my links, i do make a commission, at no extra cost to you. Thank you