How to clean your fridge properly: An easy step by step method
At least once a month you should be cleaning your fridge. In this blog post i am going to share with you my exact fridge cleaning method, that you can save and use over and over again.

Ok, so i will admit cleaning the fridge is one of my least favorite things to clean. It is right up there with cleaning the bathrooms. It is just one of those things i don’t enjoy but has to be done.
Did you know that according to Feng Shui, cleaning your fridge is linked to new opportunities flowing into your home? I spent many years as a Feng Shui consultant and know that the kitchen is connected to wealth and abundance.
When we hold on to expired foods and things from the past, we actually keep attracting the same situations over and over again. It is like your life can’t get past things that happened in your life previously, no matter how hard you try to move on.
I would suggest cleaning your fridge at least once a month.
A clean fridge makes the whole kitchen feel fresher, more organized and easier to manage. But between weekly grocery shops, leftovers, fresh produce and the occasional forgotten container at the back of a shelf, it doesn't take long for the refrigerator to become messy. I know this feeling all too well.
The good news is that learning how to clean a fridge properly doesn't have to mean spending an entire morning scrubbing shelves. With a simple method and a few everyday cleaning supplies, you can remove food spills, tackle unpleasant odors and create a clean, organized space for your groceries.
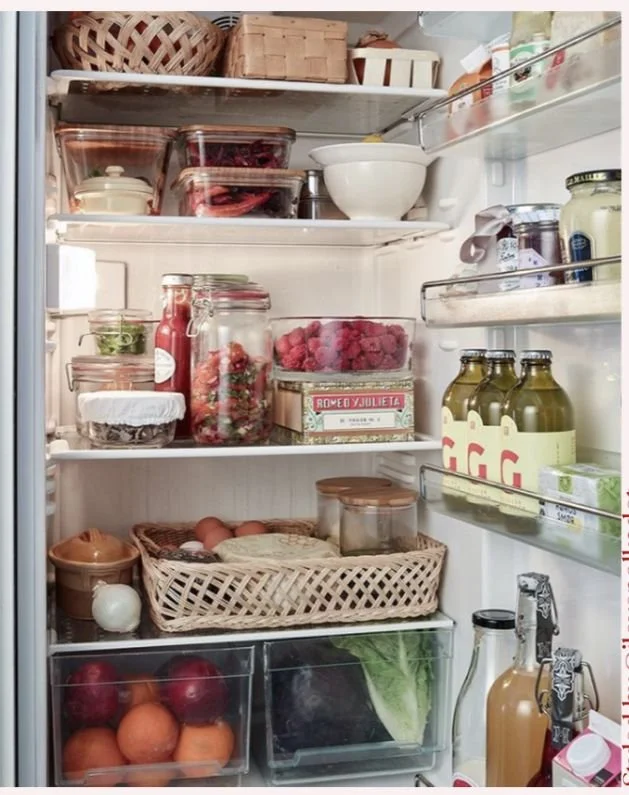
In this guide, I'm sharing my step-by-step method for cleaning a refrigerator, including what supplies to use, how to clean the shelves and drawers, how to remove lingering smells and how to maintain a fresh fridge throughout the week.
Whether you're doing a quick refresh or a full fridge deep clean, this routine will help you get the job done efficiently.
How Often Should You Clean Your Fridge?
I recommend giving your fridge a little attention throughout the week, followed by a more thorough clean about once a month, or sooner if spills and messes build up.
You don't necessarily need to remove every shelf and drawer every time you clean. Small, regular habits make the bigger cleaning sessions much easier.
Tip: I usually do a weekly clear out of leftovers and check for expired condiments the night before garbage day. This means that my bins aren’t filled with stinky, rotten foods all week and i can take everything out to my outside bins all at once.
Here is a simple cleaning schedule to follow:
Daily: Wipe up spills as soon as they happen and return food to its proper place.
Weekly: Check leftovers, look for food that is spoiling and wipe any visibly dirty shelves.
Monthly: Remove the food, wash the shelves and drawers, clean the interior walls and door seals, and reorganise the contents.
As needed: Clean immediately after a leak, sticky spill or raw meat juice contamination.
If you already follow a daily and weekly cleaning routine, adding a quick fridge check to your weekly kitchen reset is an easy way to stay on top of this task. You can read about my cleaning schedule here.
What You Need to Clean a Fridge
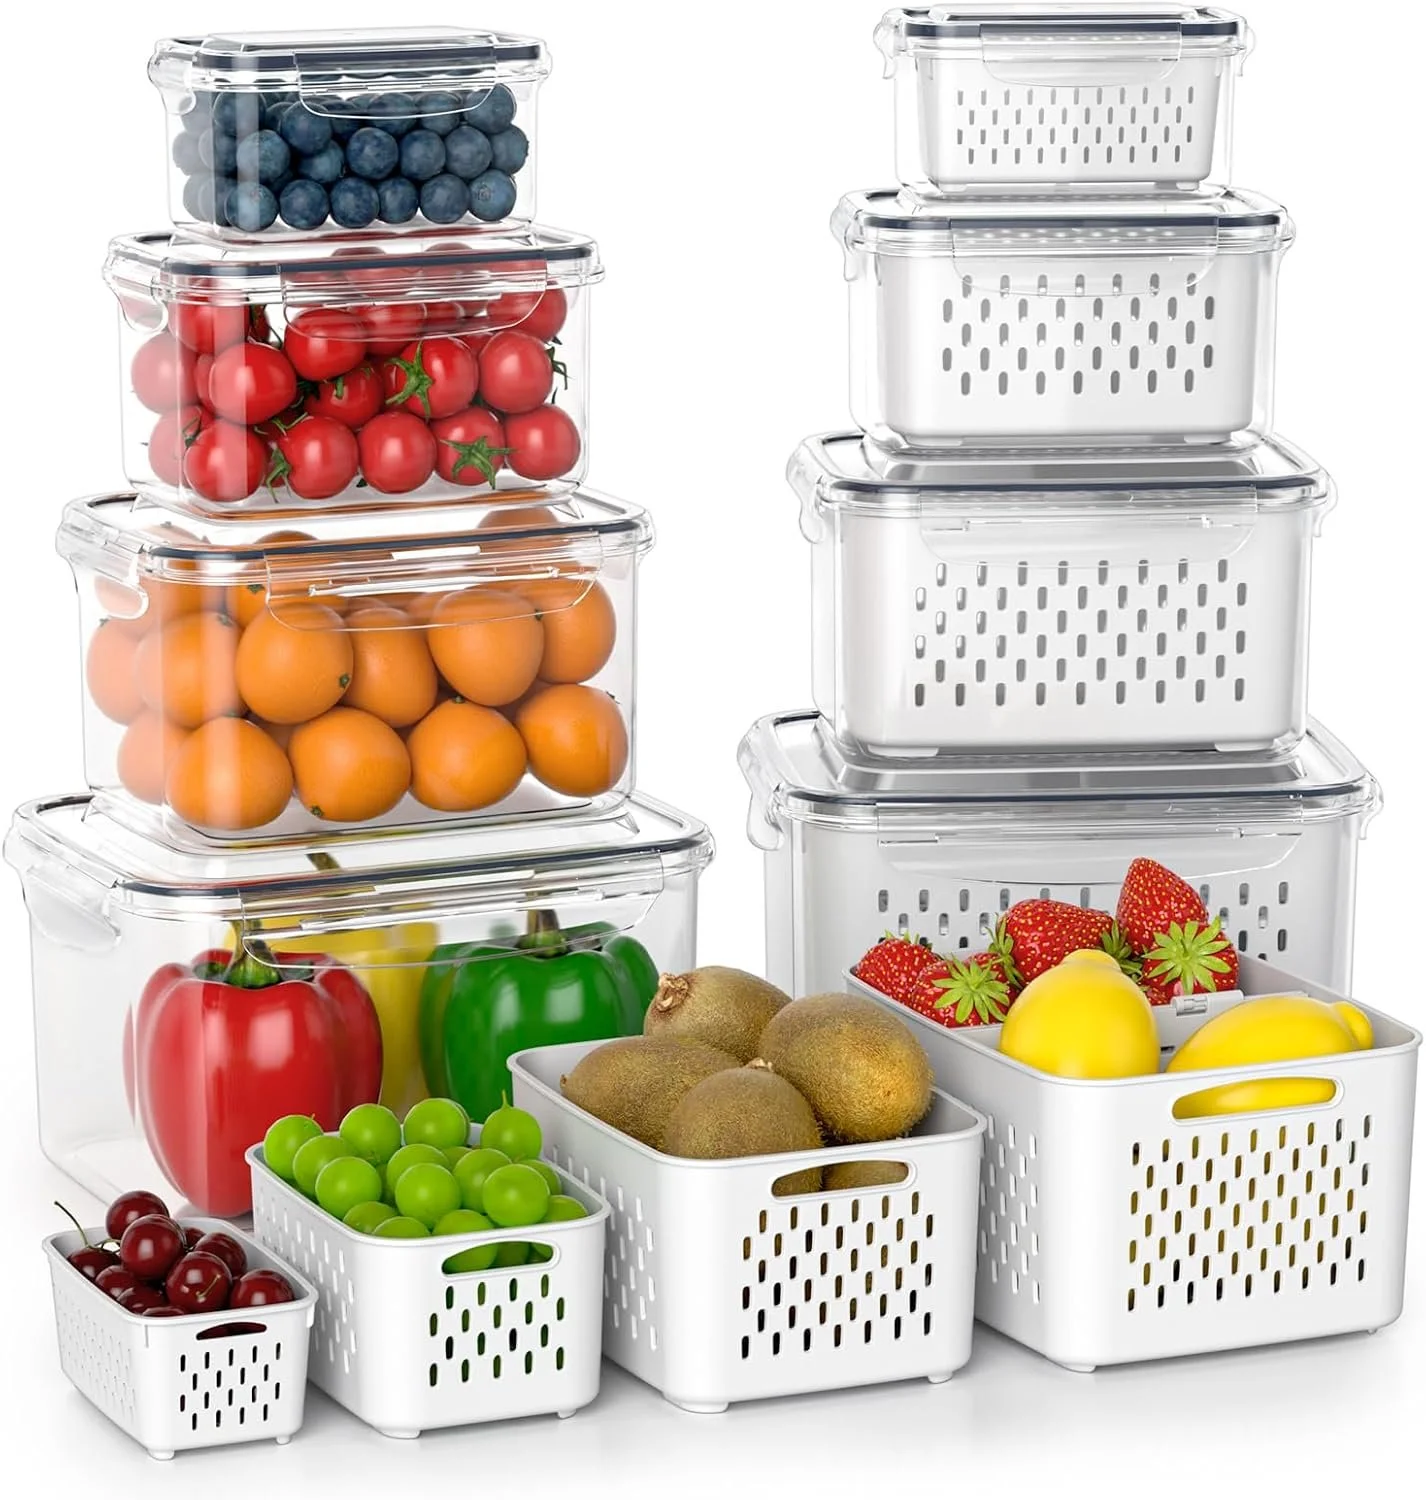
You don't need a cupboard full of specialist cleaning products to get your refrigerator clean. A few basic supplies are usually enough for routine cleaning. If you have been reading my blog for a while, you know that i like to keep cleaners as low tox as possible, you can read about my DIY cleaning recipes here.
Fridge cleaning supplies
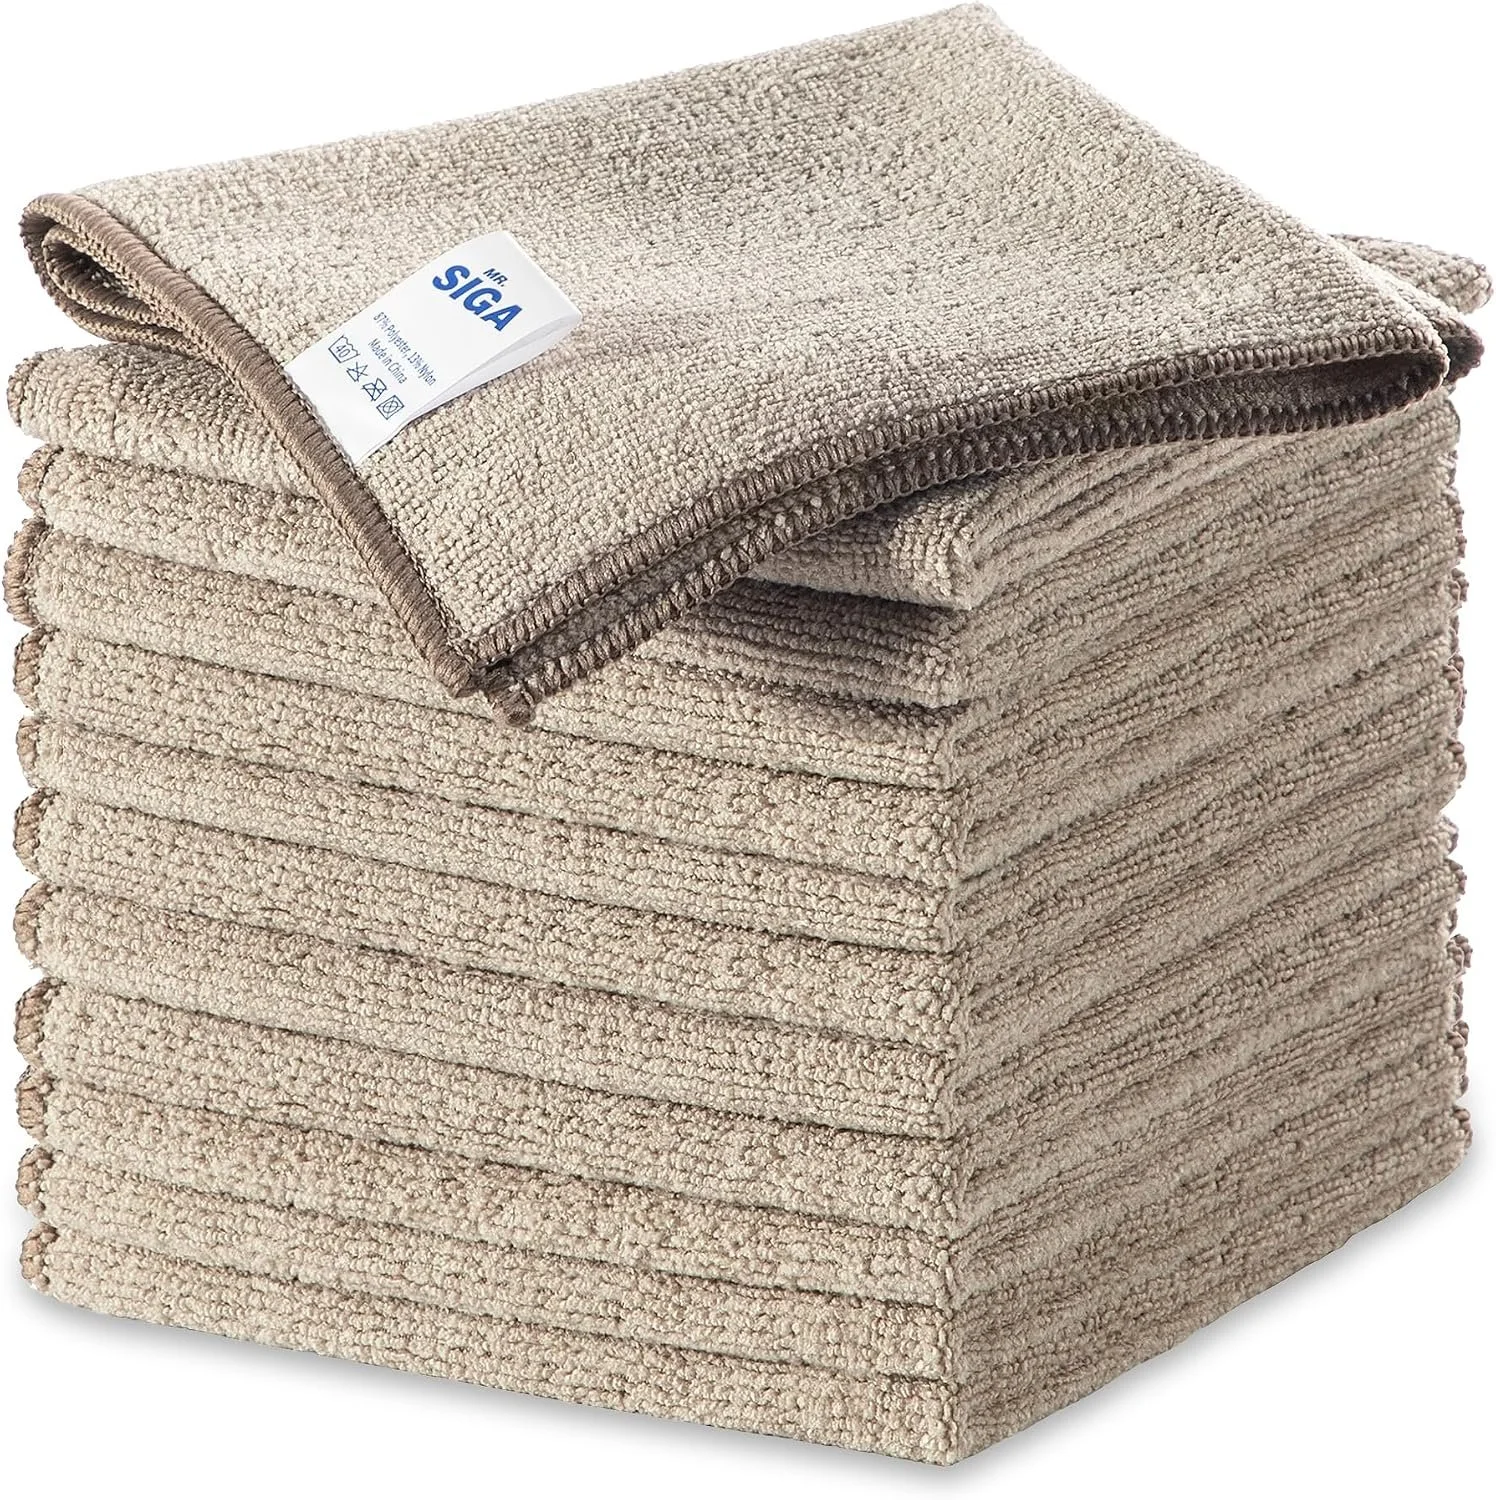
Microfiber cloths
A soft sponge
A small cleaning brush or old, clean toothbrush
A bowl of warm water
Mild dish soap
A clean, dry towel
A garbage bag
A cooler and ice packs for keeping perishable foods cold while you work
You can also keep a food-safe sanitizer available for situations where sanitizing is necessary, such as cleaning up contamination from raw meat. Always follow the product label and your refrigerator manufacturer's instructions.
My preferred approach: Start with mild dish soap and water. It is simple, effective for routine cleaning and doesn't require heavily scented products that could leave an unpleasant smell around your food.
Avoid abrasive powders, scouring pads and harsh cleaners that may damage the refrigerator's interior. Never mix cleaning products, particularly bleach with vinegar, ammonia or other cleaners.
How to Clean a Fridge: Step-by-Step Method
The easiest way to clean a refrigerator is to work from top to bottom, cleaning one area at a time. This helps prevent dirty water and crumbs from falling onto surfaces you've already cleaned. I have learned this the hard way!
Step 1: Prepare Your Fridge and Cleaning Supplies
Before you start, gather everything you'll need so you aren't searching for cloths or cleaning products halfway through the job.
If your refrigerator has a light or fan that switches off when the door closes, you may wish to consult the manufacturer's instructions about cleaning. Unplugging is not normally necessary for routine interior cleaning, but follow the manual if it specifies otherwise.
Prepare a cooler with ice packs for perishable foods. Work efficiently and keep the refrigerator door closed whenever possible.
Food that requires refrigeration should generally not remain at room temperature for more than two hours, or one hour in temperatures above 32°C. Keep your refrigerator at 4°C or colder.
Step 2: Remove the Food and Check Expiry Dates
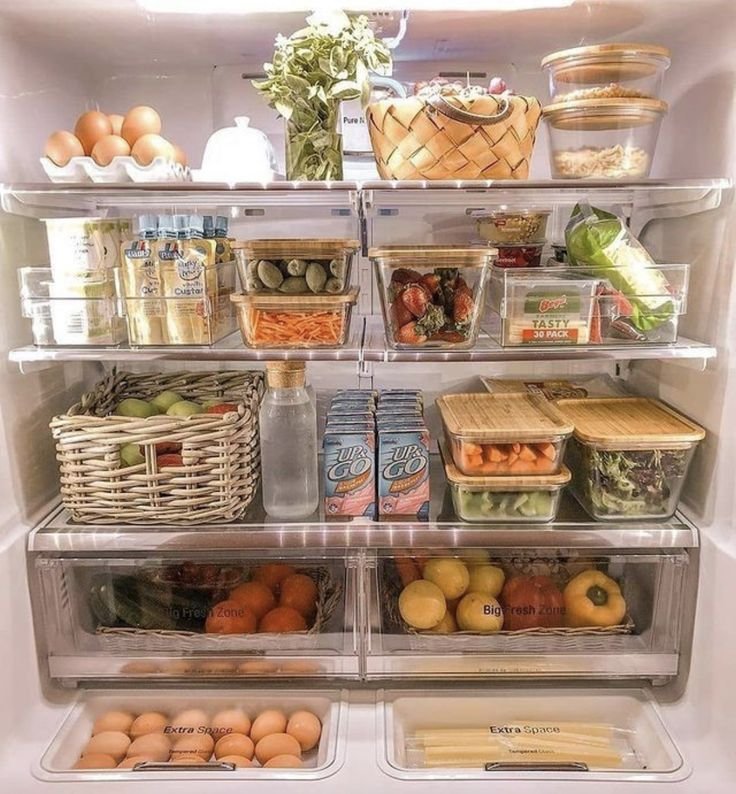
Take everything out of the fridge, working shelf by shelf if you prefer. Place perishable items in your prepared cooler and keep them cold.
This is a good opportunity to check what you actually have rather than simply putting everything back where it was.
Look for:
Leftovers that have been sitting in the fridge for too long
Produce that has spoiled or become slimy
Opened jars and sauces past their use-by dates
Food with mold, unusual odors or other signs of spoilage
Containers you no longer recognize
Items you bought for a recipe but never used
Discard anything that is unsafe to eat. Remember that food can sometimes be unsafe even when it looks and smells normal, so don't rely on appearance alone.
As you empty the fridge, group similar items together on the counter or in the cooler. This will make it easier to return everything to the right place later.
Step 3: Remove the Shelves and Drawers
Take out removable shelves, crisper drawers and door bins according to the manufacturer's instructions.
These areas often collect sticky residue, crumbs, vegetable debris and small spills that aren't immediately visible.
Wash the removable parts using warm water, a little mild dish soap and a soft sponge. Pay particular attention to corners, drawer tracks and the edges where dirt tends to accumulate.
If a drawer has stubborn residue, let it soak briefly in warm, soapy water if the manufacturer permits.
Important: Avoid placing very cold glass shelves directly into hot water. Sudden temperature changes can cause glass to crack. Allow the shelves to adjust gradually to room temperature before washing them.
Rinse away soap residue and dry the pieces thoroughly with a clean towel. Set them aside while you clean the inside of the refrigerator.
Step 4: Clean the Interior From Top to Bottom
Now it's time to clean the inside of the fridge itself.
Mix a small amount of mild dish soap into a bowl of warm water. Dampen a microfibre cloth or soft sponge and wipe the interior surfaces.
Work in this order:
The ceiling and upper interior surfaces
The back wall and side walls
Shelf supports and ledges
The areas beneath the shelves
The bottom of the refrigerator
Pay attention to corners and crevices where crumbs, dried spills and food residue can collect.
For narrow grooves or awkward corners, use a small, soft cleaning brush. Avoid scrubbing aggressively, especially around plastic components and delicate finishes.
Once you've cleaned the surfaces, wipe away any remaining soap with a clean, damp cloth. Dry the interior with a fresh towel before returning the shelves and drawers.
If your refrigerator manufacturer recommends a particular cleaning solution, follow those instructions instead.
Step 5: Clean the Fridge Door Shelves and Seals
The refrigerator door is one of the easiest places to overlook during routine cleaning.
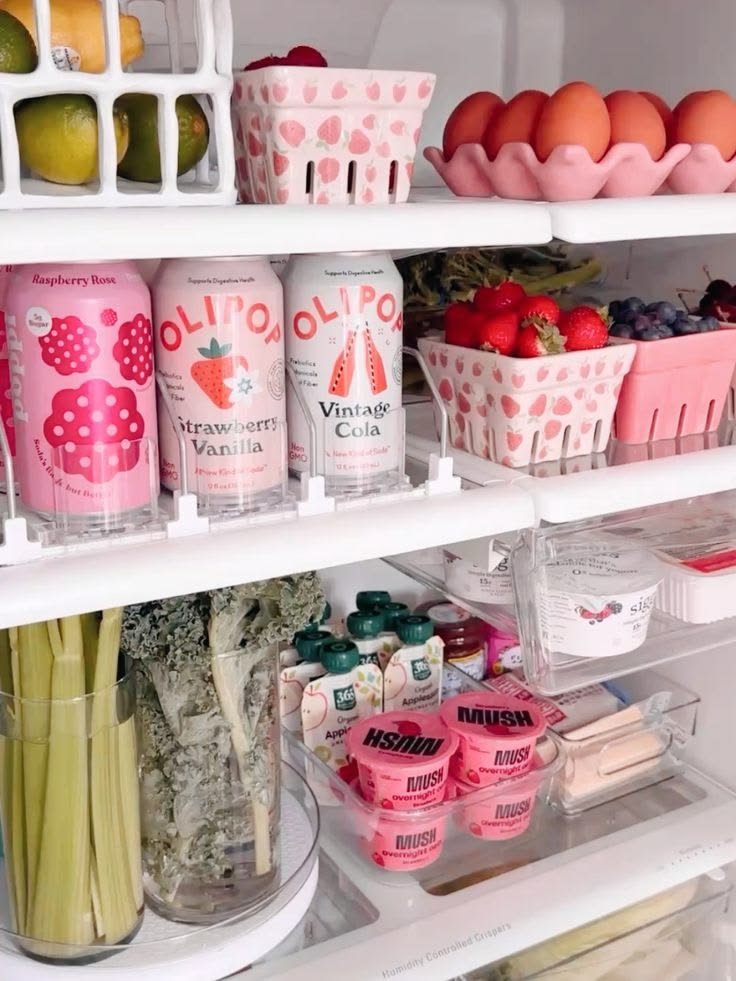
Door bins collect drips from bottles, sticky condiment residue and crumbs. Remove any detachable bins and wash them with warm, soapy water, following the manufacturer's instructions.
Next, clean the rubber door gasket, which is the flexible seal around the refrigerator door.
Gently wipe along the folds using a damp cloth. A soft toothbrush can help loosen debris in the creases, but take care not to stretch, tear or damage the rubber.
Dry the seal thoroughly.
A clean, intact door gasket helps the refrigerator close properly and maintain its temperature. If the seal is cracked, loose or no longer closing securely, consult the manufacturer about replacing it.
Step 6: Tackle Stubborn Spills and Sticky Residue
Some fridge messes need a little extra attention, particularly dried sauces, sticky juice spills and residue from forgotten containers.
For ordinary food residue, place a warm, damp cloth over the affected area for a few minutes to soften the mess. Wipe it away gently with mild dish soap and water.
For dried-on spills in removable drawers, soaking them in warm, soapy water can make cleaning much easier.
If raw meat juices or other potentially harmful contamination have leaked inside the refrigerator, clean the area immediately and then use an appropriate food-contact-safe sanitizing product according to its label and your appliance instructions.
Do not assume that ordinary soap and water sanitizes a surface. Cleaning removes dirt and residue; sanitizing is a separate step when required.
Step 7: Clean the Outside of the Refrigerator
Once the inside is clean, give the exterior a quick refresh.
Use a soft cloth and a suitable cleaning solution for your refrigerator's finish.
For stainless steel, follow the manufacturer's care instructions and wipe in the direction of the grain if recommended. Avoid abrasive pads that can scratch the surface.
Remember to clean:
The door handles
The front and sides, where accessible
The top of the refrigerator, if reachable safely
The water dispenser and surrounding area, if applicable
The exterior edges around the doors
Handles are particularly worth wiping regularly because they are touched throughout the day.
If your refrigerator has a water dispenser or ice maker, follow the manufacturer's instructions for cleaning and maintaining those components. Replace water filters according to the recommended schedule.
Step 8: Return the Shelves and Organize Your Food
Once everything is clean and dry, put the shelves, drawers and door bins back in place.
Now you can return the food in a way that makes the refrigerator easier to use.
I find that grouping similar items together makes a noticeable difference. Instead of moving several jars to find one ingredient, you can see what you have at a glance.
Here are a few simple organizing ideas:
Keep leftovers in clear, covered containers.
Place frequently used ingredients where they're easy to reach.
Group condiments together.
Store washed produce appropriately, following the storage recommendations for each item.
Keep raw meat and seafood securely contained on the lowest shelf or in a designated compartment to prevent drips onto other food.
Put older items where they are easy to see and use them before newer purchases.
Avoid overfilling the fridge so cold air can circulate.
Keep in mind that the refrigerator door is generally warmer than the main compartment. Store temperature-sensitive foods in the appropriate colder areas, rather than relying on the door for items that need consistently cold storage.
Your fridge should now feel cleaner, fresher and much easier to navigate.
How to Get Rid of Bad Smells in the Fridge
An unpleasant refrigerator smell usually means something needs attention. Before reaching for a deodoriser, identify the source of the odor.
Start by checking for:
Spoiled fruit or vegetables
Old leftovers
Leaking containers
Spilled milk, sauces or juices
Food residue in drawers and door seals
Remove the source, clean the affected area and dry it thoroughly.
If the smell persists, check the drain, drip pan or other components if your model has them and the manufacturer provides cleaning instructions. Persistent odors may need professional attention.
Can Baking Soda Remove Fridge Odors?
An open container of baking soda can help absorb some lingering odors, but it won't replace cleaning or remove the source of a bad smell.
If you choose to use it, place it in a suitable container where it cannot spill into food. Replace it periodically according to the product guidance.
Avoid using air fresheners or heavily scented sprays inside the refrigerator. You want your food storage area to be clean, not perfumed.
My Simple Weekly Fridge Maintenance Routine
You don't have to repeat the entire deep-cleaning process every week. A few minutes of maintenance can prevent the fridge from becoming overwhelming.
Here is the routine I would follow:
During the week
Wipe up spills as soon as possible.
Put food away promptly after cooking.
Keep leftovers in covered containers.
Return ingredients to their usual places.
During your weekly kitchen reset
Check leftovers and discard anything unsafe.
Inspect produce for spoilage.
Wipe any visibly dirty shelves.
Check that containers are closed properly.
Make a note of ingredients that need using soon.
Once a month
Empty the refrigerator.
Wash removable shelves and drawers.
Clean the interior walls and door seals.
Wipe the exterior and handles.
Check for lingering odors.
Reorganize food and check your refrigerator temperature.
You can adjust the frequency according to how heavily your household uses the fridge. Families who cook frequently may need to clean certain areas more often.
If you enjoy having a home that feels consistently tidy without spending every day cleaning, this is one of those small routines that makes a real difference.
Fridge Cleaning Checklist
Save this checklist or print it out to make your next fridge-cleaning session easier.
Gather cleaning supplies and prepare a cooler.
Remove food and check dates.
Discard spoiled or unsafe items.
Remove shelves, drawers and door bins.
Wash removable parts with warm, soapy water.
Clean the interior walls and shelf supports.
Wipe the door shelves and rubber seals.
Deal with spills and odors.
Clean the exterior and handles.
Dry all surfaces and replace removable parts.
Organize food and check the temperature.
Return perishable foods to refrigeration promptly.
Disclaimer: This post contains links to my Amazon store. If you shop using my links, i do make a small commission at no extra cost to you. Thank you!